Google Nest Doorbell 2nd Gen Wired-Horizontal Mount

In the Box

1 x horizontal angle mount

2 x long screws + wall anchors

2 x short screws 2 x tiny screws
Compatibility
Google Nest Doorbell (Wired, 2nd Gen)
Pre-Installation
- We recommend that you use a magnetic screwdriver.
- Do not install the tiny screw to lock the Horizontal Angle Mount before mounting it to the wall.

Installation
- Turn off the power to your doorbell at the electrical panel. Note: Always consult a professional electrician before working with electrical wires.
- If a doorbell was previously installed on your wall, take it down and disconnect the wires.

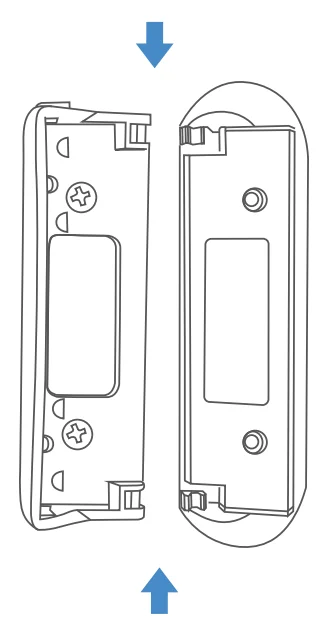
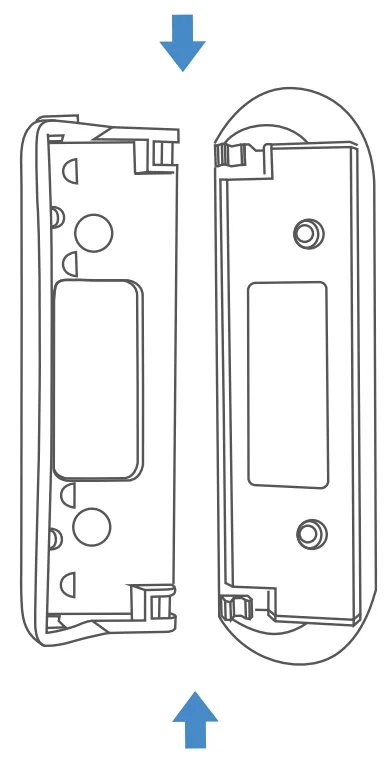
- Open up and carefully pull apart the wedge and wall plate.

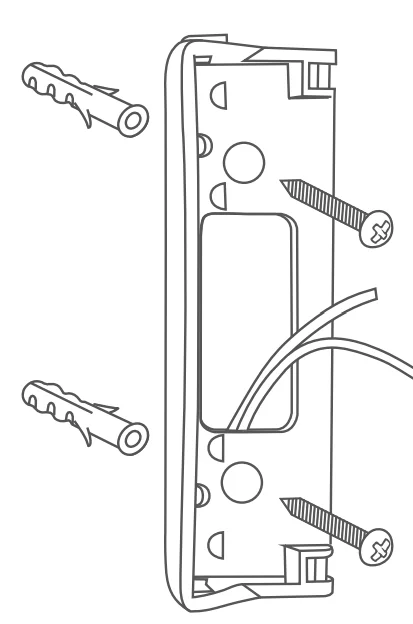
- Feed the wires through the cutout. Attach the mount to the wall using the long screws and wall anchors provided (drill bit size: 1/8 in).
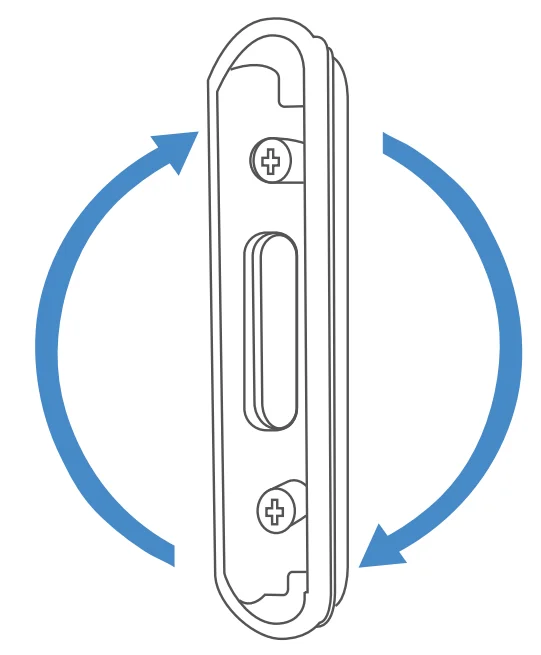
 Note: To install in the opposite direction, simply flip it over before mounting
- Reattach the wedge. Press together firmly until it.

- Mount the doorbell backplate to the wedge with the short screws provided

- Connect the wires to the doorbell. Then, attach the doorbell to the wedge and lock it by securing it with the screw that came with your doorbell

- Set your doorbell to your preferred angle and tighten the tiny screws on the top and bottom of the mount.

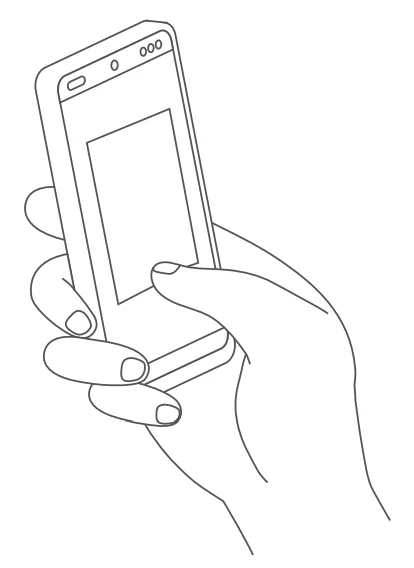
- Turn on the power and check the Google Home App to make sure the mount and doorbell have been installed properly.
FOR MORE MANUALS BY GOOGLE NEST, VISIT MANUALSLIBRARYY
Google Nest Doorbell 2nd Gen Wired-Horizontal Mount-FAQs
Can I mount the Nest Doorbell horizontally?
Yes, it can be mounted horizontally with an adjustable angle between 35° and 55° to get your preferred viewing angle.
Does the Nest Doorbell require wiring?
The 2nd Gen Wired Nest Doorbell must be connected to your home’s doorbell wiring for continuous power.
Does the Nest Doorbell have a battery?
It has a small internal battery for assisting the chime, but it cannot power the device on its own.
Can the Nest Doorbell work without Wi-Fi?
Without Wi-Fi, you won’t be able to stream live video or save video to the cloud, but local features like the chime still work.
How do I connect the Nest Doorbell to Wi-Fi?
Use the Google Home app: select your device, go to Settings → Wi-Fi, and follow the in-app instructions to connect to your network.
Is there a subscription fee for Nest Doorbell?
Yes, Nest Aware subscriptions start at $8/month or $80/year, offering cloud storage and additional video history features.
Can the Nest Doorbell work with Alexa?
Yes, it is compatible with Amazon Alexa through the Google Nest skill for home control.
What is the best height for installing the Nest Doorbell?
A height of around 4 ft (1.2 m) ensures a good field of view and reduces glare from sunlight or floodlights.
Does the Nest Doorbell record 24/7?
Wired Nest Doorbells with Nest Aware Plus can record 24/7, but battery-powered versions only offer event-based recording.


 Note: To install in the opposite direction, simply flip it over before mounting