Wasserstein Aqua Pal Water Sensor
About Aqua Pal
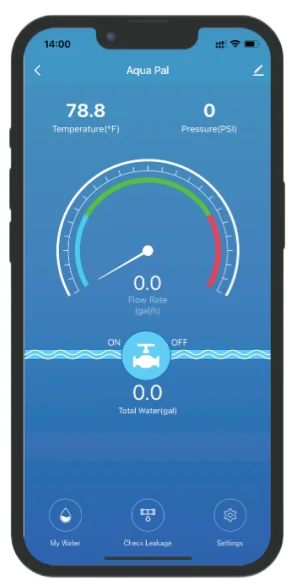
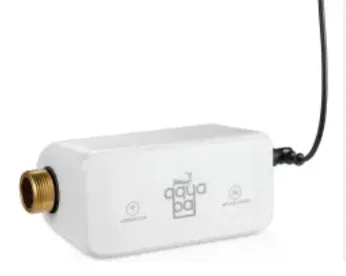
The Aqua Pal continuously monitors the water pressure, temperature, and flow rate, as well as detects minor leaks in a water system.
In the Box
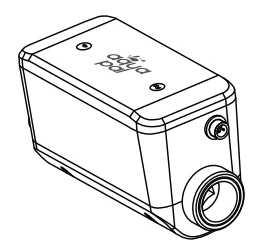
1 x Aqua Pal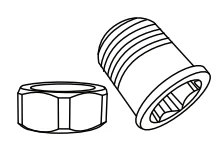
2 x water pipe adapters (N20 to 3/4 in)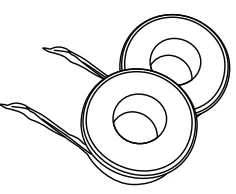
2 x waterproof tape (10 ft)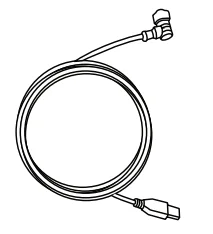
1 x power cable (16.4 ft)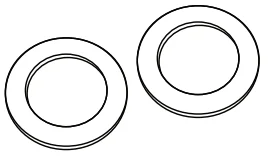
2 x waterproof pads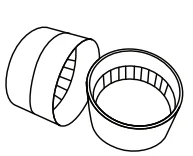
2 x threaded protection covers (pre-installed)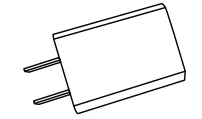
1 x power adapter (5V / 2A)
Important Information
- The Aqua Pal cannot be used if the water temperature is below freezing (32 °F / 0 °C).
- Wrap the waterproof tape around the water pipe adapter and the copper pipe to prevent water leakage.
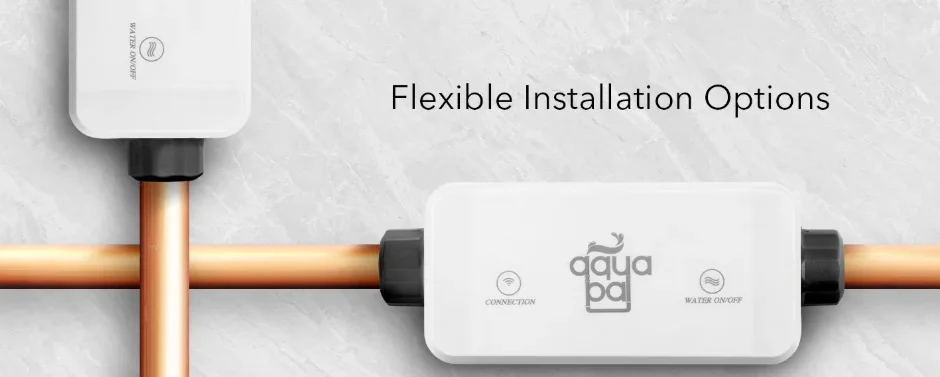
- It is recommended to install the Aqua Pal indoors. And install Aqua Pal in the main pipe or sub-pipe.
- Make sure you shut off your water source before installation.
Introduction to Parts
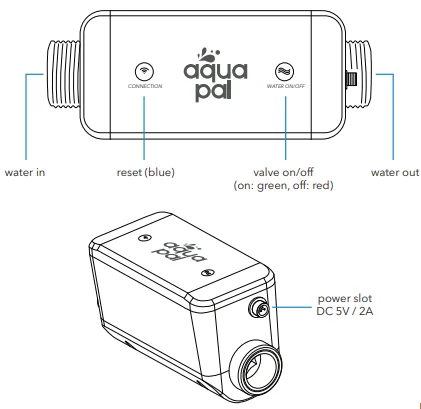
Indicator Lights
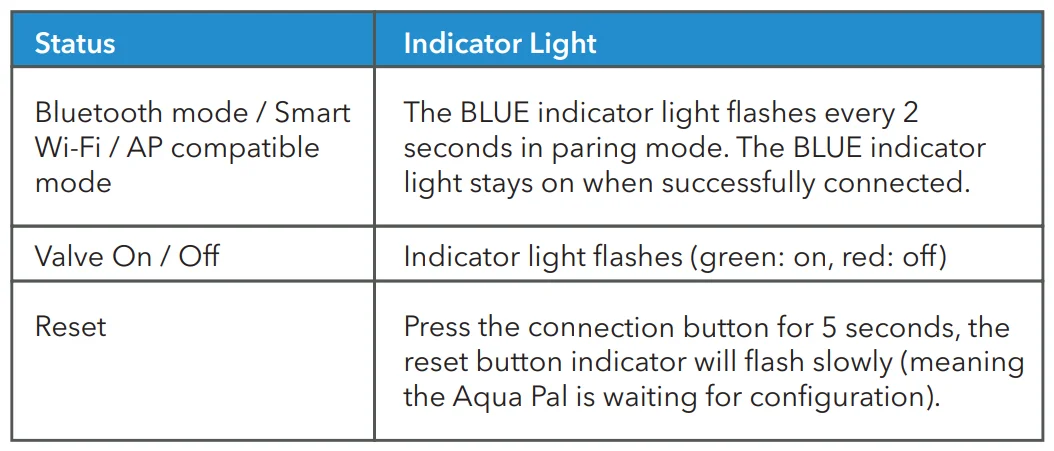
How to Install
Note: Before you install the Aqua Pal, test that the device can power on and connect to the network. Shut off your water source until after installation is completed.
Water pipe installation:
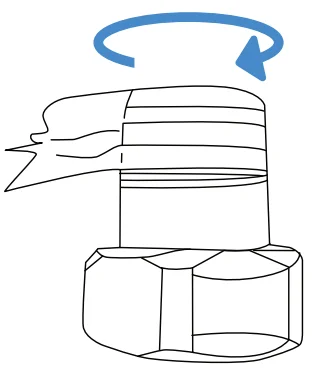
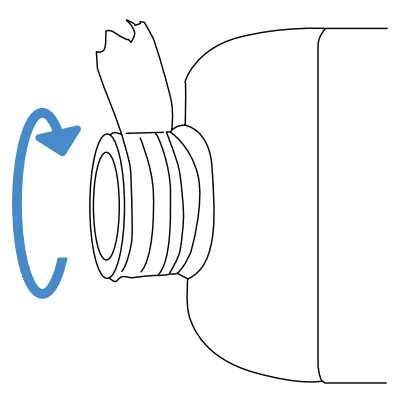
- Wrap the waterproof tape around the threads of the water pipe adapter

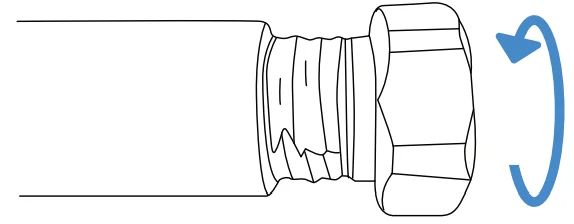
- Screw the water pipe adapter into the main pipe.

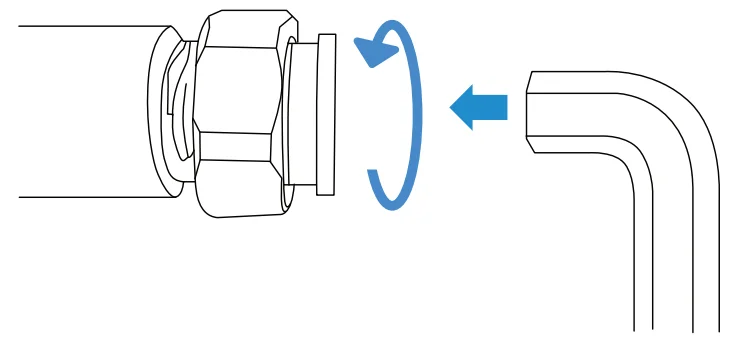
- Tighten the water pipe adapter using a hex key (not provided).

- Wrap the waterproof tape around the threads of the Aqua Pal pipe

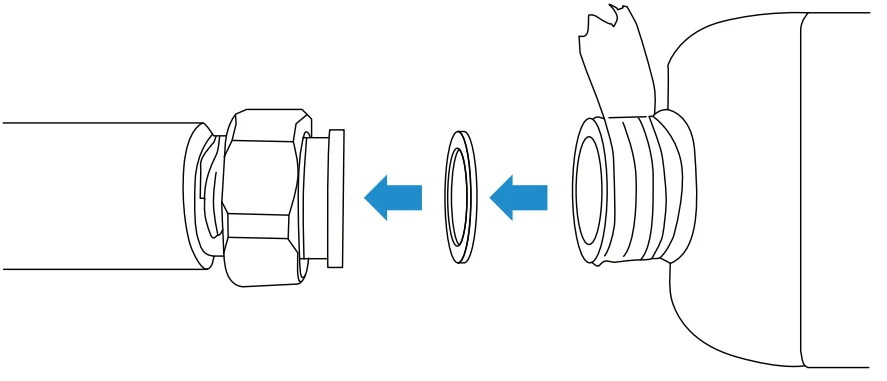
- Put the waterproof pad into the water pipe adapter. Then, dock the Aqua Pal copper pipe.

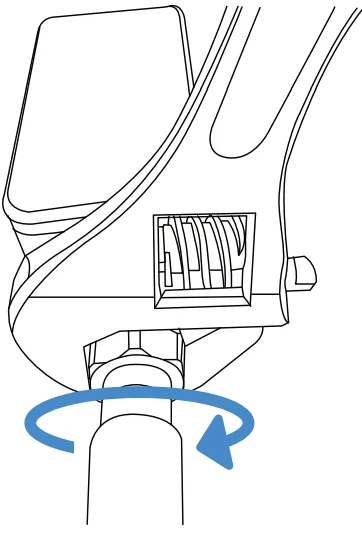
- Tighten the adapter nut with a crescent wrench (not included)

- Repeat steps 1 – 6 to install the other side of the Aqua Pal.
Connecting to Power
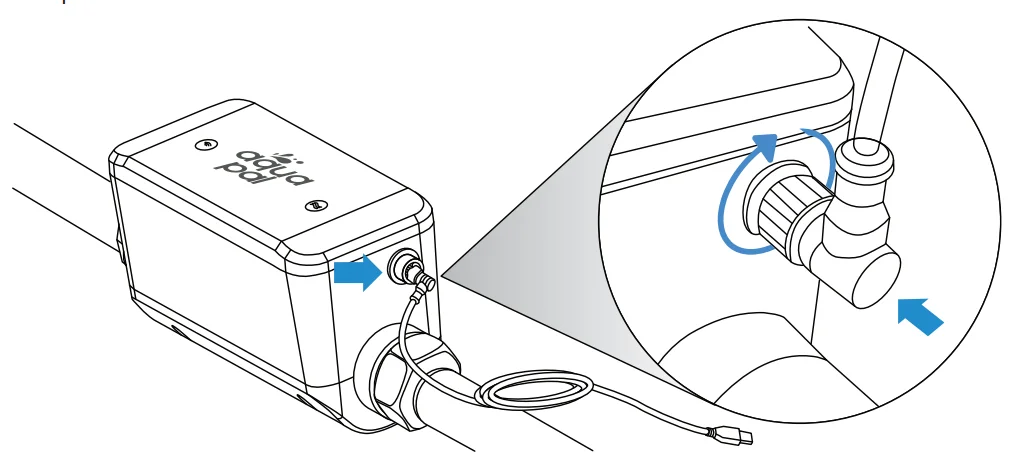
Power cable installation: Press the power cable firmly into the power slot and turn the nut clockwise to lock it in place.
App Setup
Minimum requirements:
- Smartphone or tablet running iOS 10.0 or later / Android 5.0 or later
- Wireless communication standard: IEEE 802.11 b/g/n
- Frequency band: 2.4 GHz & 5 GHz
- Security Protocols: WPA, WPA2
- Encryption Protocols: TKIP, AES
- Connection speed: Minimum: 2 Mbps (download) / 2 Mbps (upload)
How to Download the Wasserstein App and Add Your Device
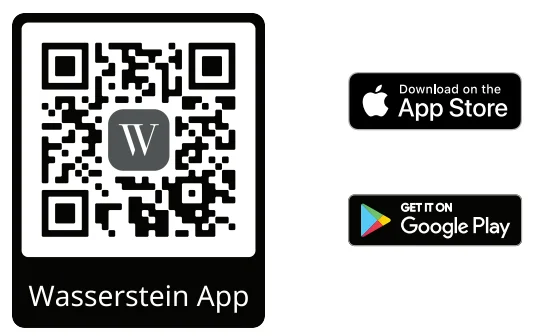
- Download the Wasserstein App by scanning the QR code or by searching “Wasserstein” in the Google Play Store or the App Store.

- Sign up for a new account or log in to an existing account.
- There are 3 ways to add your device: Bluetooth, Wi-Fi EZ mode, and Wi-Fi AP mode.
Bluetooth (Default pairing mode):
- Press “Connection” for 5 seconds on your Aqua Pal until the blue light is on.
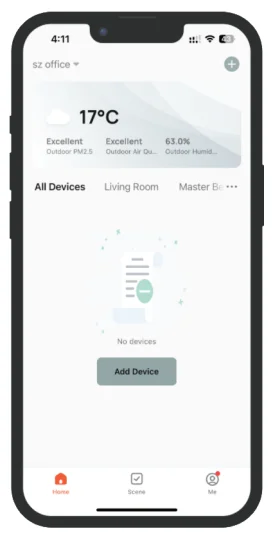
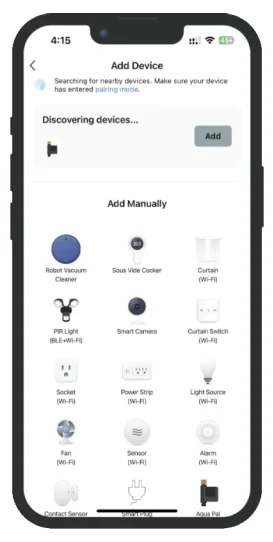
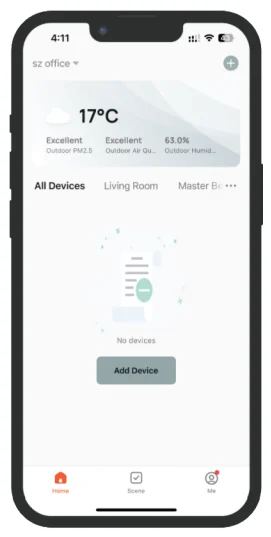
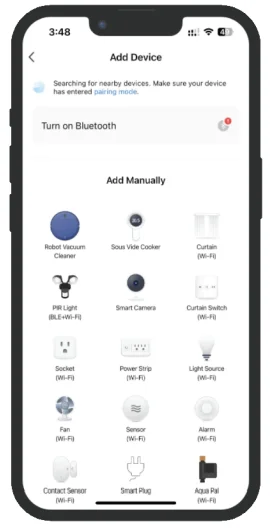
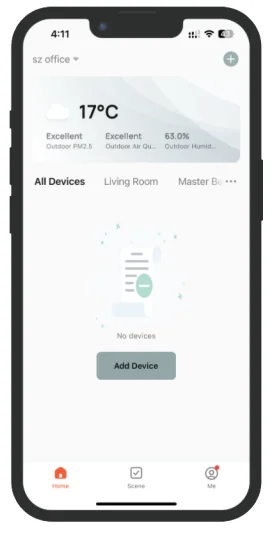
- Click “Add Device” or “+” in the top right corner on your mobile device.

- Click “Go to add” in the pop-up dialog box

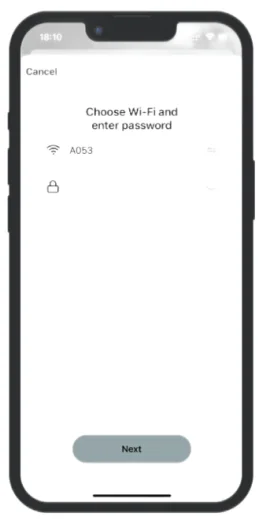
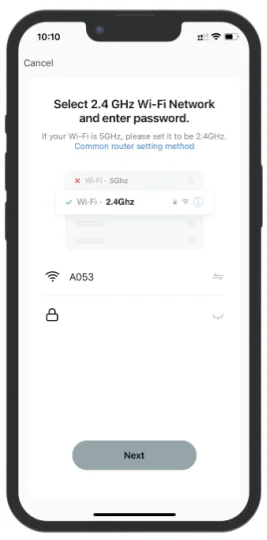
- Follow in-app instructions to connect the Aqual Pal to your Wi-Fi network

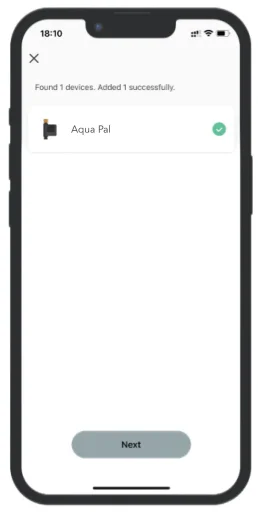
- Wait until the process is completed (about 30 seconds). Then click “Next”

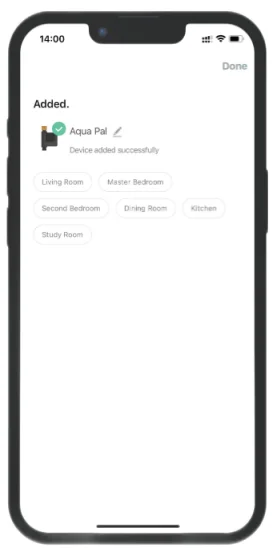
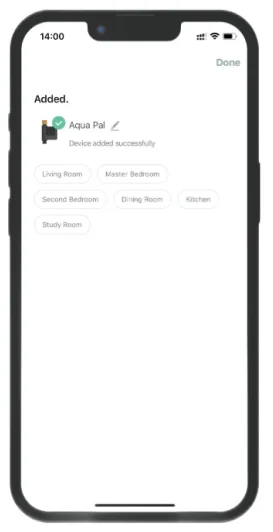
- Choose a room, then click “Done” in the top right corner to complete
Wi-Fi EZ mode (Only need to use when other pairing mode fails):
- Click “Add Device” or “+” in the top right corner

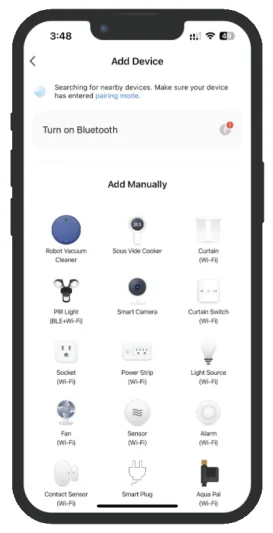
- Click the Aqua Pal (Wi-Fi) icon in the bottom right corner

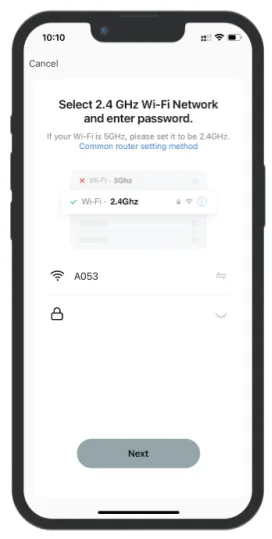
- Follow the in-app instructions to connect the Aqual Pal to your Wi-Fi network

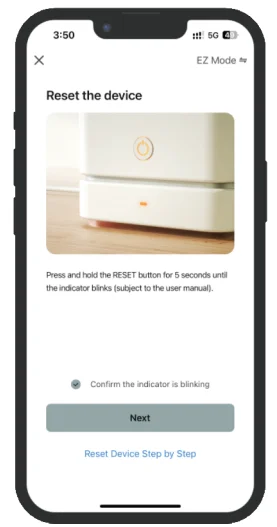
- Press “Connection” for 5 seconds on the Aqua Pal until the blue light is on

- Select “Confirm the indicator is blinking rapidly” and click “Next”.
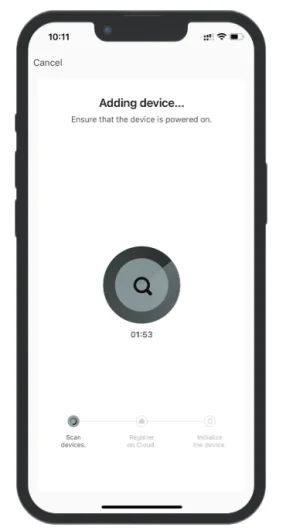
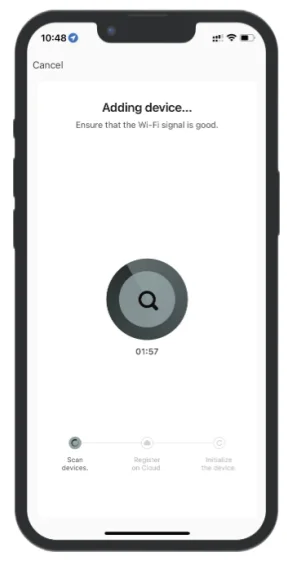
- Wait for “Adding device” to complete

- Choose a room and click “Done” to complete
Wi-Fi AP mode (Only need to use when other pairing mode fails):
- Click “Add Device” or “+” in the top right corner.

- Click the Aqua Pal (Wi-Fi) icon in the bottom right corner.

- Follow in-app instructions to connect the Aqual Pal to your Wi-Fi network

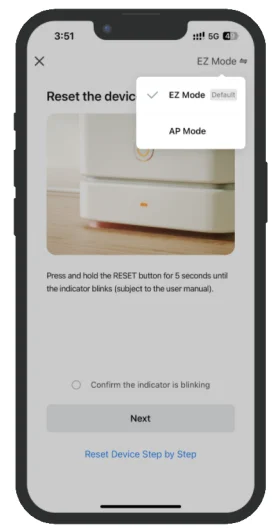
- Click “EZ Mode” in the top right corner to switch, select “AP Mode” in the drop-down list.

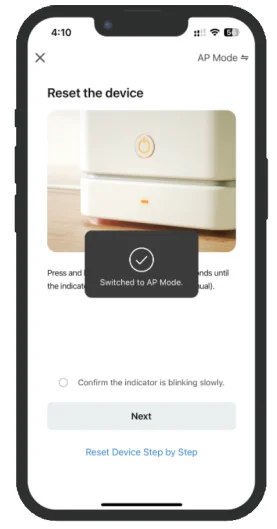
- Switched to “AP Mode

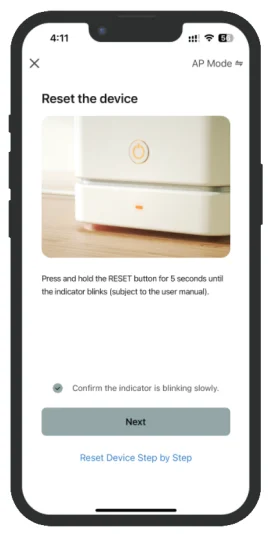
- Press the “Connection” button on the Aqua Pal for 5 seconds until the blue light is on.

- Check “Confirm the indicator is blinking rapidly” and click “Next” on your phone
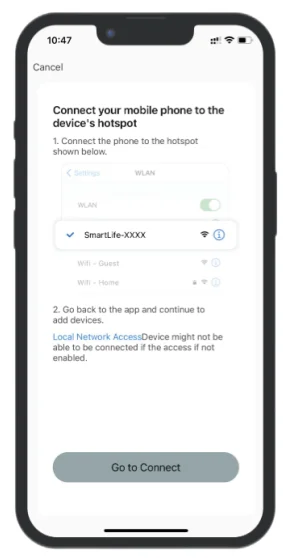
- Click “Go to Connect”

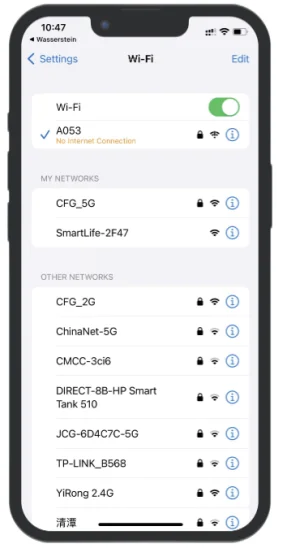
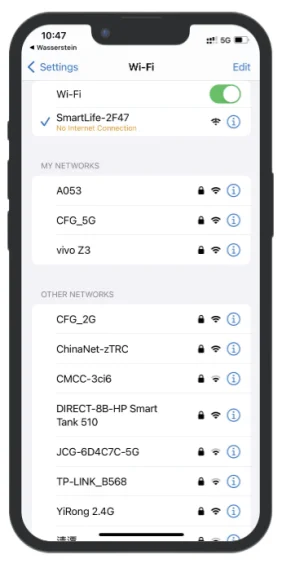
- Click “SmartLife- XXXX” hotspot

- Once the connection is established, return to the Wasserstein App by clicking “Wasserstein” in the top left corner.

- Wait for “Adding device” to complete

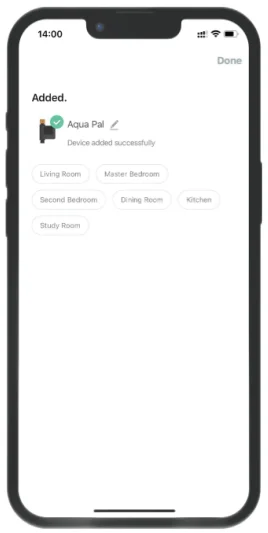
- Choose a room and click “Done” in the top right corner to complete

After any of the pairing modes is complete, you can then use the App to monitor and control the settings of your Aqua Pal
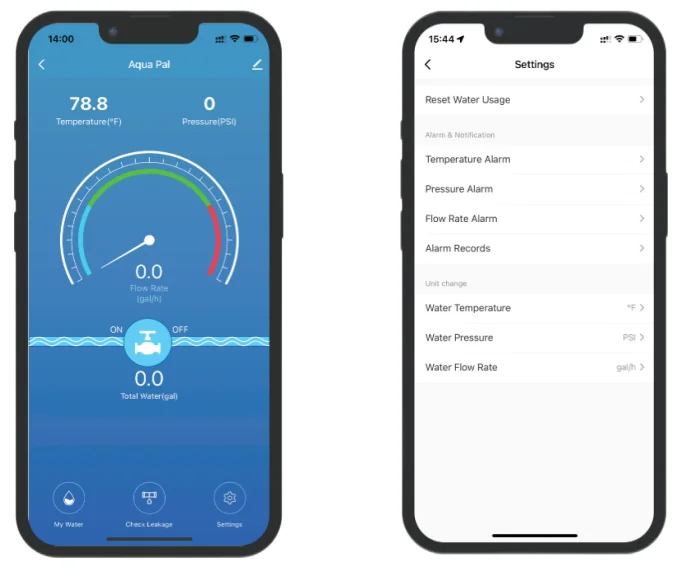
Checking Leakage with Aqua Pal
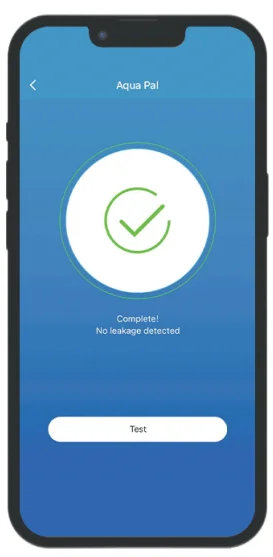
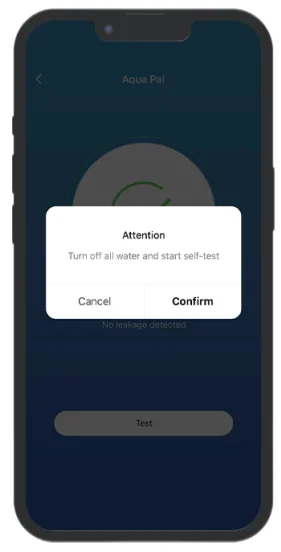
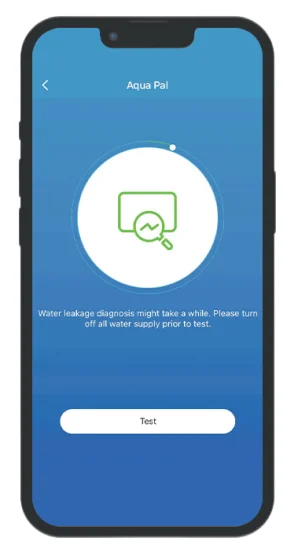
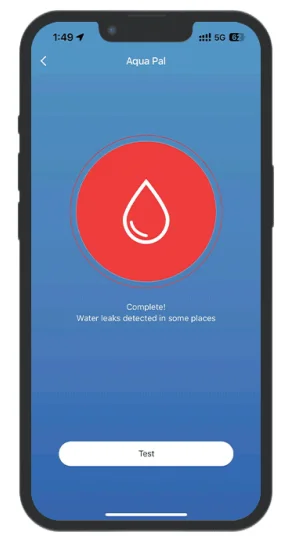
- Go to Check Leakage & Click “Test”

- Make sure to turn off your water source and click

- Wait for the self-test to be completed.
Reviewing Water Usage History
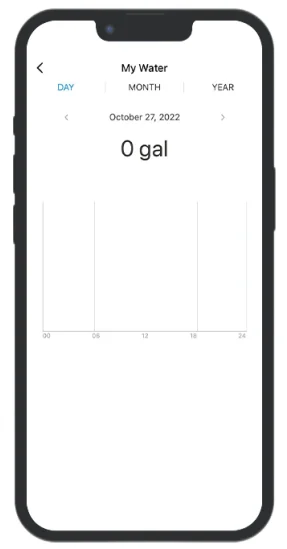
Click “My Water” to review water usage history
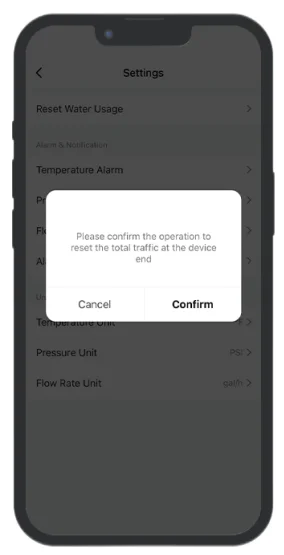
Resetting Water Usage History with Aqua Pal
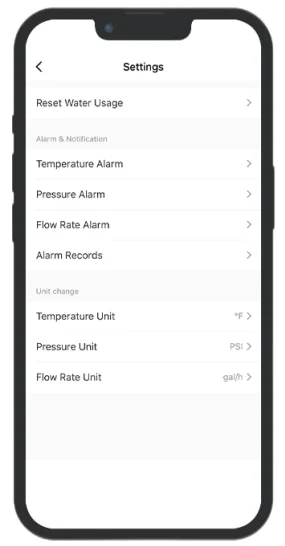
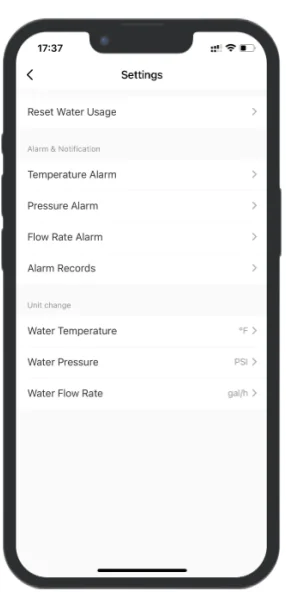
- Go to settings and select “Reset Water Usage.

- Click “Confirm” to reset.
Setting Temperature, Pressure & Flowrate Threshold
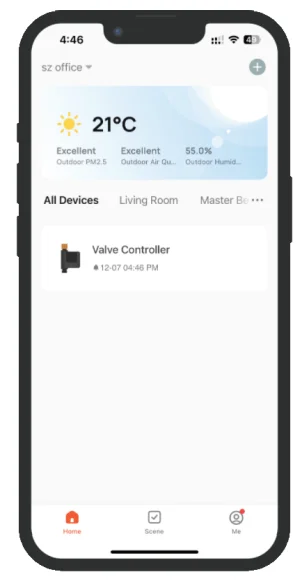
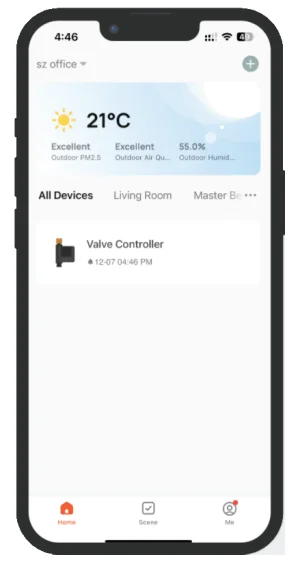
- Select “Aqua Pal” in the device list from the Home page

- On the main screen, click “Settings” in the bottom right corner.

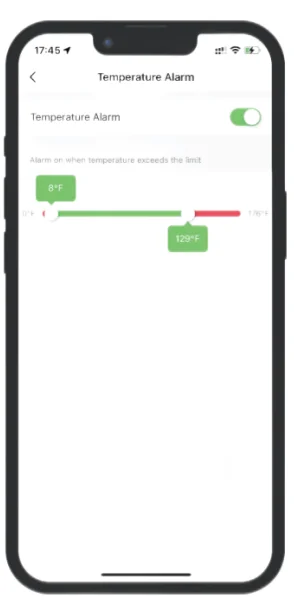
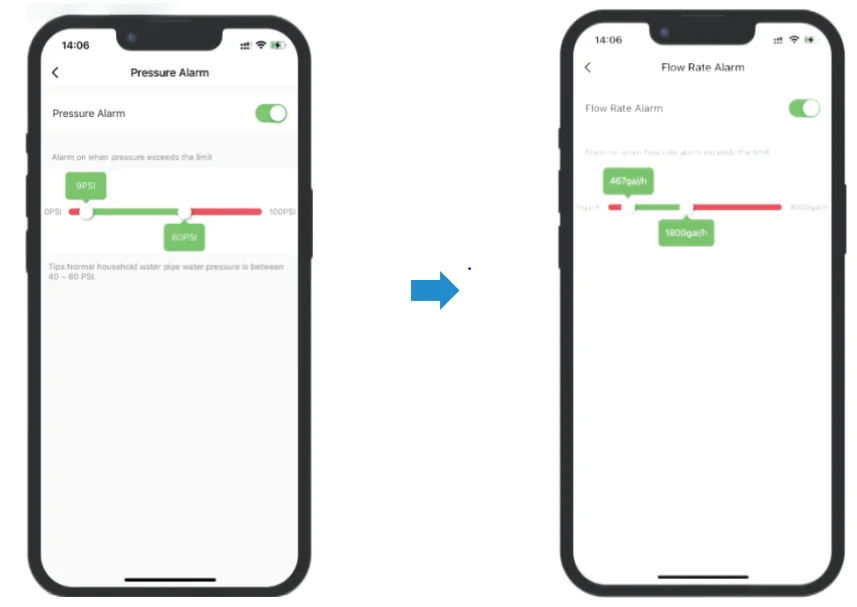
- On the “Settings” page, click “Temperature Alarm

- Set the temperature alarm threshold by sliding the slider.

- Do the same for the Pressure Alarm and Flow Rate Alarm
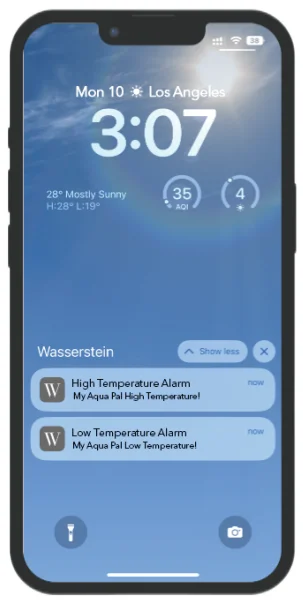
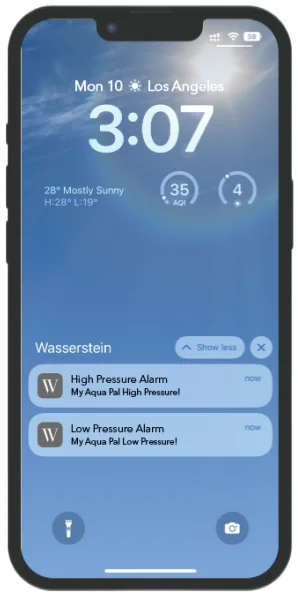
Warning messages by Wasserstein App
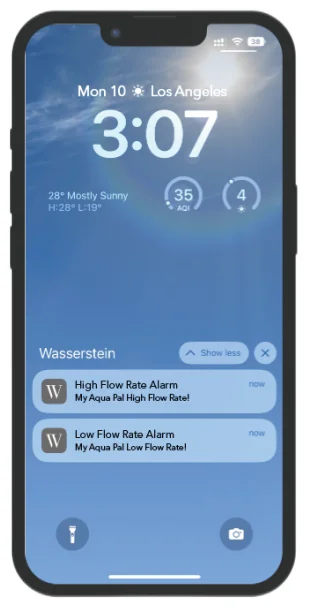
- High / Low Temperature Alarm

- High / Low Pressure Alarm

- High / Low Flow Rate Alarm
Connecting Smart Water Sensor with Aqua Pal
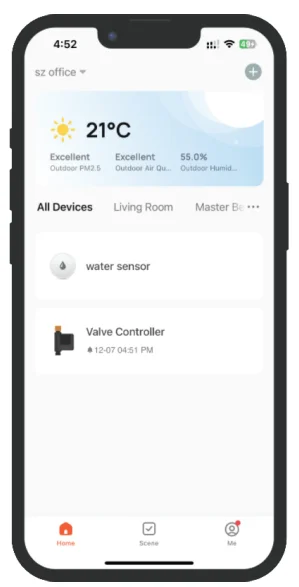
- Make sure you have installed the Aqua Pal and Smart Water Sensor in the device list from the Home page.

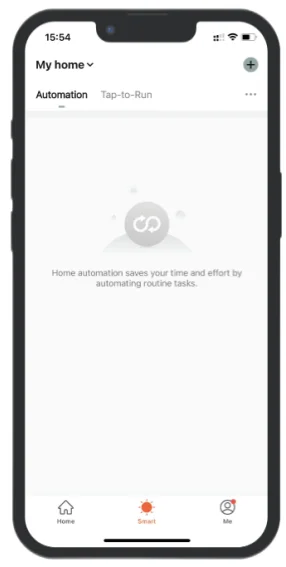
- Click the Smart icon at the bottom, and then click “+” in the top right corner.

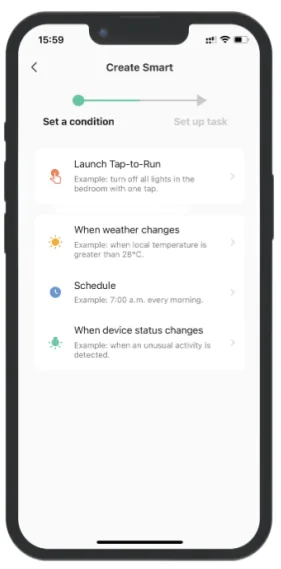
- Select “When device status changes” from the Create Smart screen.

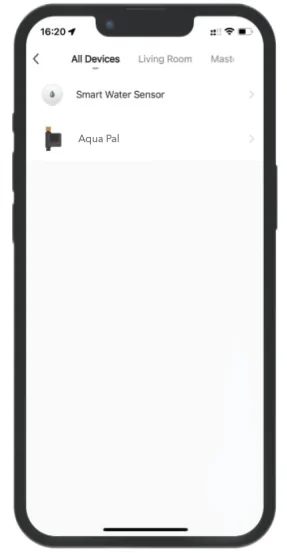
- On the All Devices list, select “Smart Water Sensor.

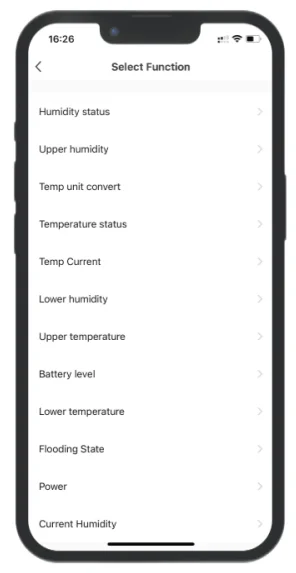
- Select “Flooding State” from the “Select Function page.

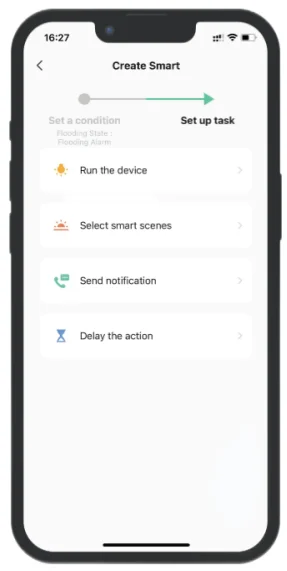
- On the “Create Smart” page, select “Run the device

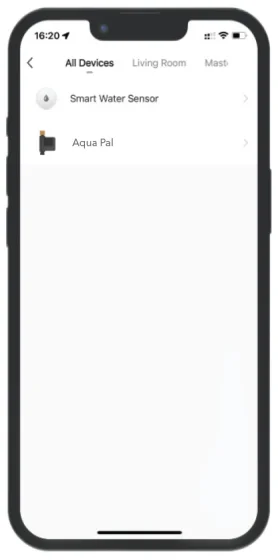
- On the All Devices list, select “Aqua Pal”

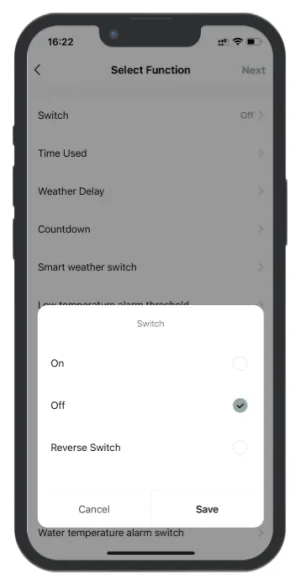
- Select “Switch” from the Select Function page, then set the Switch to “Off” and click “Save”, and click “Next” in the top right corner.

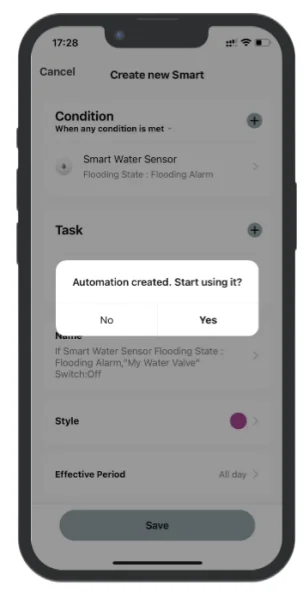
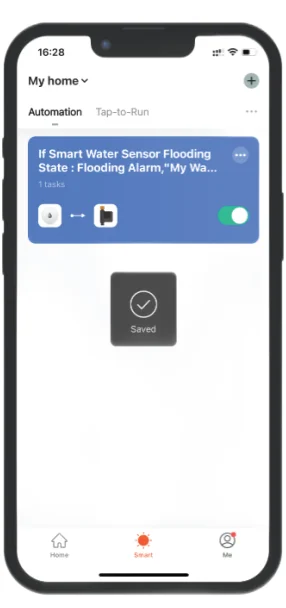
- Click “Save” to complete

- Click “Yes” to start using the Automation

- Automation saved
FOR MORE MANUALS BY WASSERSTEIN HOME, VISIT MANUALSLIBRARYY
Wasserstein Aqua Pal Water Sensor-FAQs
Why is my Wasserstein Aqua Pal Water Sensor not working?
Check the power source first—replace the batteries or ensure the electrical connections are secure. Clean the sensor lens to remove dirt or residue that may block detection. Also, inspect the solenoid valve to make sure it isn’t stuck or clogged.
How does a water sensor work?
A water sensor detects the presence of water by measuring changes in conductivity or pressure. When water touches the sensor’s electrodes, it completes a circuit, sending a signal to trigger an alert.
What is the working principle of the Wasserstein Aqua Pal Water Sensor?
The sensor works by detecting pressure or conductivity changes caused by water contact. These changes are converted into an electrical signal, which alerts you about leaks or flooding.
How long do water sensors last?
Most wireless water sensors, including the Aqua Pal, have a long lifespan—typically up to 10 years, depending on battery quality and usage conditions.
How can I test if my water sensor is working properly?
Press the test button (if available) or place a small amount of water near the sensor. If it’s functioning correctly, you’ll hear an alert or see a signal notification.
How should I clean my water sensor?
Soak the sensor tip in mild soapy water for about 15 minutes, then rinse and dry it. For tougher buildup, use white vinegar or diluted bleach to remove any mineral deposits.
What is the voltage requirement for a water sensor?
Water sensors generally operate on 3–5V DC, making them energy-efficient and safe for household use.
What is the detection range of a water sensor?
Detection range varies by model, but most water sensors can monitor areas within a few feet of placement, ideal for spots near washing machines, sinks, or water heaters.
What are common causes of water sensor failure?
Common reasons include dead batteries, corrosion on contacts, sensor obstruction from dirt or mineral buildup, or water damage to internal electronics.
What are the limitations of water sensors?
Water sensors require regular maintenance and calibration. They may give inaccurate readings if exposed to dirt, biofilm, or extreme temperatures for long periods.

