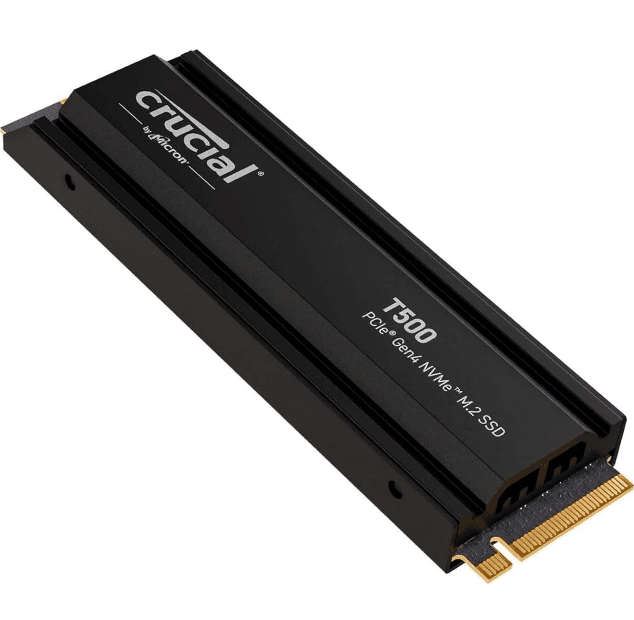
Crucial T500 2TB Gen4 NVMe Internal Gaming SSD
Let’s Get Started
- Check with Sony® to install their latest system updates. These will allow you to unlock the expansion bay and install your
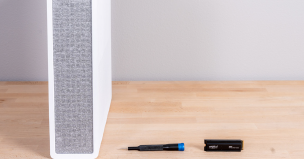
Crucial NVMe SSD. - Set the PlayStation 5 on its side, with the logo facing down and the disc drive facing you on the right corner.
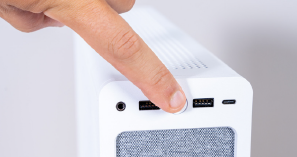
- On the top left corner of the side, apply finger pressure upwards while using your other hand to press down with a sliding motion to the right. This should pop off the cover. If you have trouble doing this, check with a Sony user guide for more complex instructions.
- Find the metal cover plate covering the expansion bay. Use a small Phillips screwdriver to unscrew the screw and remove the plate.
- You’ll need to move the set screw and riser from 110 to 80, one notch up and closer to the connector. Use the screwdriver to remove and move the set screw and riser.
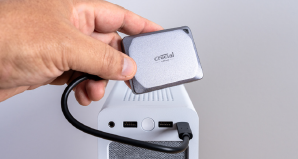
- Insert the SSD, which is keyed on one end, into the expansion bay at an angle of 30 degrees. Drop it down, aligning the half-circle indentation with the 80 position of the mounting screw. Screw it in gently.
- Replace the cover plate and screw it into place.
- Replace the PlayStation’s side cover by lining up the grooves and applying a little pressure in the reverse of how you took it off: down and to the left till it snaps back into place.
- Plug in the system and boot it up.
- Follow the prompts to format the new drive and use it as your default.
- Now you’ve got plenty of storage for your games!
Check desktop or motherboard compatibility
- The first thing you want to do is verify that your new Crucial NVMe SSD with heatsink is compatible with your system. Though NVMe SSDs are backward compatible (meaning a Gen5 SSD will work in a Gen4 system, etc.), they are not forward compatible, and you will not be able to achieve Gen5 performance in a Gen4 system.
- Refer to your system’s user manual or go to the motherboard manufacturer’s website to make sure your system is compatible with your new Crucial NVMe SSD.
- You can also use the Crucial System Selector to advise you on compatibility.
Prepare your workspace
- Clear off a table, countertop, or workbench. This can help prevent the buildup of static electricity that could damage your new SSD.
- Next, gather your supplies. You’ll need your computer or motherboard, your computer or motherboard owner’s manual, a screwdriver, and your new Crucial NVMe SSD.

Back up important files
(Skip this step if installing on a new motherboard)
- Unless you are installing your NVMe SSD with a heatsink in a new computer or motherboard, you will need to save any important files on an external storage drive, a USB flash drive, or a cloud storage service.
- It’s important to do this before beginning your new SSD installation.

Open your computer case
(Skip this step if installing on a new motherboard)
- Shut down your system by turning it off.
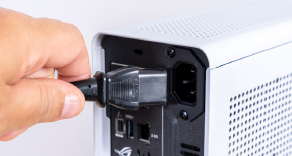
- Remove the power cable.
- Discharge any residual electricity in the system by holding down the power button for five seconds.
- Open your case — you’ll likely need a screwdriver. Every computer case will open differently, so consult your owner’s manual for specifics.
- Ground yourself by touching a metal surface or by wearing an antistatic wrist strap. This protects your computer components from static electricity.

Find the M.2 slot on your motherboard
- Your owner’s manual or manufacturer’s website will have the best information on the location of your M.2 slots.
- Please note that some M.2 slots might not support more advanced (PCIe 5.0, for example) protocols. If available, you’ll want to use the M.2 slot that fully supports your SSD generation to achieve the best performance.

Remove the motherboard heatsink
(Skip this step if installing on a laptop)
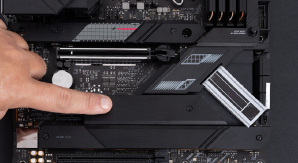
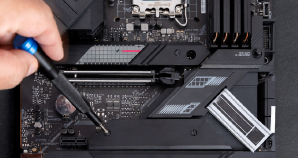
- Your M.2 slot may be located under a pre-installed motherboard heatsink. If it is, carefully unscrew the heatsink to access the slot.
Remove the plastic cover from the thermal pad in the mounting position
(Skip this step if there is no thermal pad)
- If your NVMe SSD can be attached flush with the pad, just remove the plastic covering it.
- If the SSD cannot be mounted flush, remove the whole pad. This will not negatively affect your SSD performance.

Insert the NVMe SSD
- Hold the SSD carefully by the edges. Avoid touching the gold connector pins.
- Align the SSD with the mounting mechanism and insert the SSD at a 30-degree angle. Do not force the connection.
- Once aligned, lower the SSD into place.
- Tighten the screw or latching mechanism. Do not overtighten!
- Do not try to reinstall the motherboard heatsink on top of the integrated heatsink. It’s no longer needed and will not fit.
Turn on your computer
- Refer to your computer manual for instructions on setting your new SSD as a boot drive.
- Enjoy the spacious storage and blazing speed of your new Crucial NVMe SSD!
Check out our installation video for more help.
https://www.youtube.com/watch?v=8gV4lU1SHz4&t=51s
For more Manuals by Crucial, visit ManualsLibraryy
Crucial T500 2TB Gen4 NVMe Internal Gaming SSD-FAQs
Do I need to install special drivers for the Crucial NVMe SSD?
No, the default NVMe drivers included with Windows are usually sufficient. Additional drivers are optional and mainly used for troubleshooting or advanced features in Crucial’s Storage Executive software.
How fast is the Crucial T500 SSD?
The Crucial T500 offers blazing-fast sequential read speeds up to 7,400MB/s and write speeds up to 7,000MB/s, delivering quicker load times and smoother game rendering, especially when paired with Microsoft® DirectStorage.
Where do I install an NVMe SSD?
In desktops, the NVMe slot is typically located near the motherboard. In laptops, it may be under the bottom panel or keyboard. Always check your device’s manual for the exact slot location.
What are the benefits of NVMe over SATA?
NVMe offers significantly higher data transfer speeds and supports multiple command queues, reducing latency and improving overall system responsiveness compared to SATA SSDs.
Are NVMe SSDs good for general storage?
Yes, NVMe SSDs provide up to 25x faster data transfer than SATA drives and are ideal for eliminating storage bottlenecks. They also consume less power in idle mode, making them energy-efficient.
Is the Crucial T500 2TB a single-sided SSD?
Yes, the Crucial T500 2TB is a single-sided M.2 2280 SSD, featuring the Phison E25 controller and Micron 232-layer TLC NAND flash.
Is the Crucial T500 a good SSD for gaming?
Absolutely. While it doesn’t directly boost frame rates, the T500 excels in high-speed data transfer, making it perfect for fast game loading and responsive system performance.
Does the Crucial T500 2TB come with DRAM?
Yes, it includes DRAM cache, making it one of the most affordable high-speed SSDs with DRAM support—ideal for gaming and heavy workloads.


