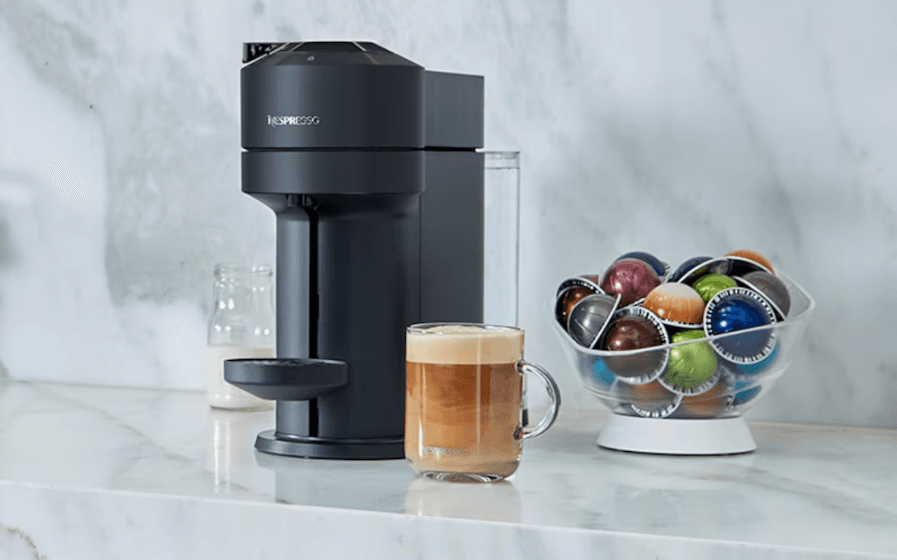
Nespresso Vertuo Next Coffee Maker Descaling
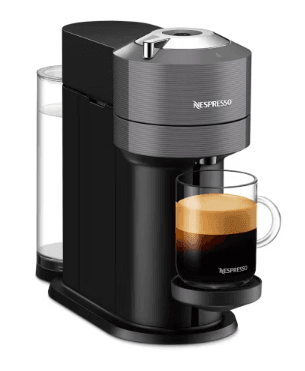
IMPORTANT INFORMATION BEFORE YOU BEGIN
- Nespresso recommends descaling every 3 months or 300 capsules (whichever comes first).
- Nespresso machines should be descaled with a Nespresso Descaling Kit, which contains a natural solution that thoroughly dissolves the scale buildup. Other solutions (such as vinegar or store-bought descalers) may cause damage to your Nespresso machine.
- Descaling solution can damage or discolor surfaces so we suggest placing something underneath your machine in case a spill should occur. If a spill does occur, please make sure to clean up the solution immediately to avoid any damage.
- Keep descaling solution out of reach of children.
- In case of contact with eyes, rinse immediately with plenty of water for 15 minutes and seek medical advice.
- Do not swallow or ingest the descaling solution.
- The descaling solution may be irritating to the eyes and skin.
- Avoid filling up the water tank during the descaling process.
- After descaling, wipe down the machine with a damp cloth.
Duration: 20 minutes
STEP 1
With the machine plugged in, empty the capsule container and drip tray and place them back onto the machine.
STEP 2

Fill water tank with 1 packet of Nespresso descaling solution and 17 ounces of water.
STEP 3
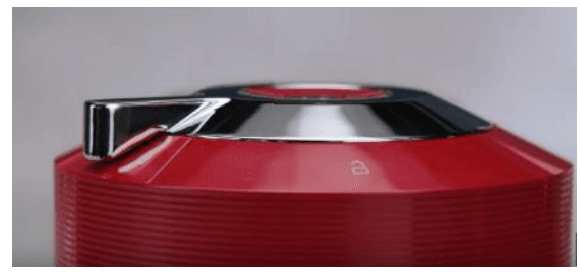
Make sure there is no capsule in the machine. Close the machine head and lock the lever to the left to
turn the machine on. Wait until the light is steady (approx. 30
seconds).
STEP 4
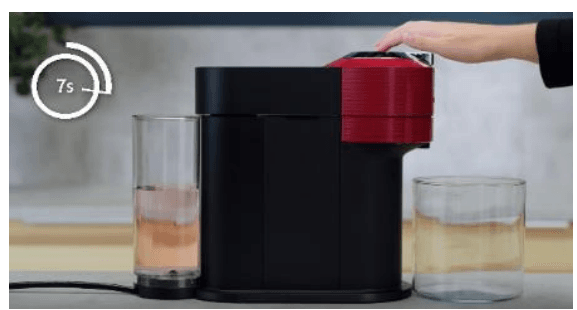
Unlock the lever with the head closed. Press and hold the button until you see the steady light turn off first, and then start blinking orange quickly. It may take approximately 7 seconds before the light starts to blink.
STEP 5

Turn lever to the left to lock the lever, then turn lever back to the front to unlock the lever.
STEP 6
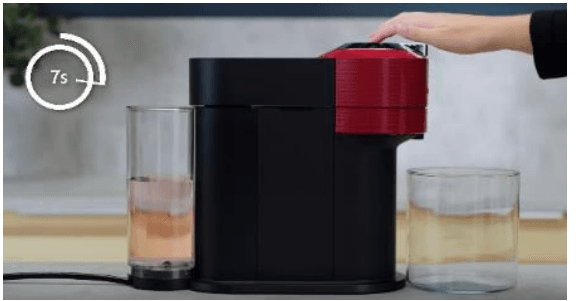
Press and hold the button until the light turns off and then starts blinking orange and quickly again (approx. 7 seconds). Steps 5 and 6 must be completed within 45 seconds.
STEP 7
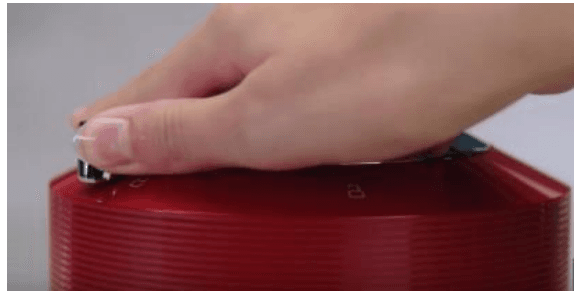
Lock the lever. The light should still be blinking orange quickly. This is an indication that you have entered descaling mode. If not, start over from Step 3.
STEP 8
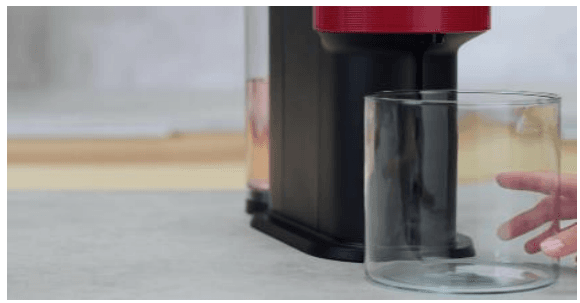
With a large container (min 34oz) underneath the spout, press and release the button once to begin descaling. Light will continuously blink throughout the process.
STEP 9
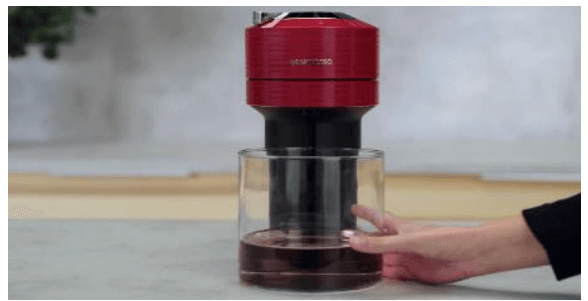
Once the solution has finished running through, machine should be silent. Discard the solution and
Return the empty container underneath the coffee spout.
STEP 10

Empty drip tray and capsule container. Rinse water tank and clean thoroughly. Refill the tank to the top with fresh water and place back on the machine.
STEP 11
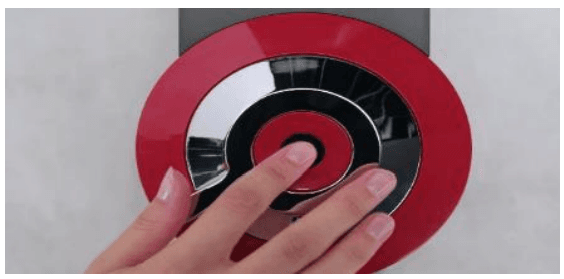
Press and release the button to begin the rinsing phase. When machine stops making noise, discard the water from the container.
STEP 12

The machine will stop automatically and the cup button should become steady on its own.
STEP 13
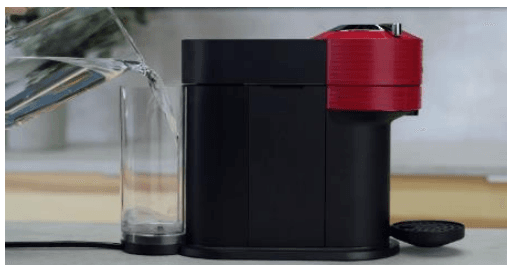
Refill the water tank and place it back onto the machine.
STEP 14
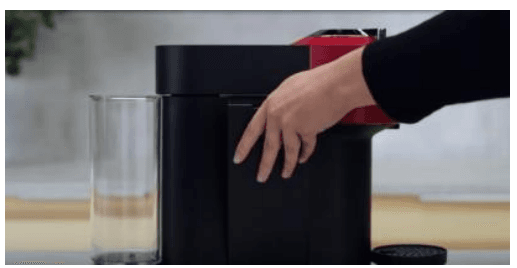
Empty and rinse the capsule container and drip tray and reinsert.
STEP 15
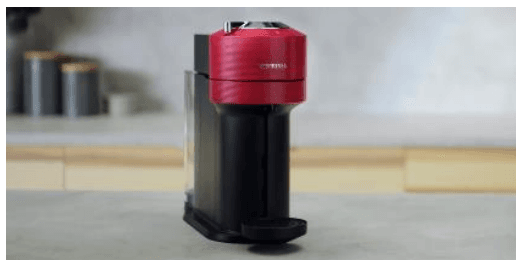
Wipe down the machine with a damp cloth. Let the machine rest for 10 minutes. The machine is now ready for use.
For more manuals by Nespresso, visit ManualsLibraryy
Nespresso Vertuo Next Coffee Maker Descaling-FAQs
How often should I descale my Nespresso Vertuo Next?
It’s recommended to descale every 3 months or after every 300 capsules, whichever comes first. Regular descaling helps remove limescale and coffee oil buildup to keep your machine running smoothly.
How do I use the Nespresso Vertuo after descaling?
To exit descaling mode, press and hold the button and lever simultaneously for 3 seconds until the light turns green. Wait about 10 minutes before using the machine again.
How do I clean my Vertuo Next if I haven’t used it in a while?
Place a large cup (at least 0.8 liters) under the outlet. Press the brew button 3 times within 2 seconds to start the cleaning cycle. Orange lights will blink during this process, and it usually takes about 2 minutes to complete.
What is a descaling solution?
A descaling solution is a liquid chemical that removes limescale—a mineral deposit from hot water—from inside your coffee machine, helping maintain performance and taste.
Why is descaling important for my Nespresso machine?
Descaling clears mineral buildup from your machine’s internal components. This helps extend its life, maintain brew quality, and ensure consistent coffee temperature.
Is Nespresso’s descaling solution safe to use?
While effective, the solution is corrosive. Avoid contact with skin, eyes, or inhalation. Always handle it with care and follow the instructions provided with the descaler.
What’s the difference between cleaning and descaling?
1. Cleaning removes oils, coffee residue, and surface grime.
2. Descaling specifically targets mineral buildup caused by hard water, which cleaning alone can’t remove.
What does the “clean” function do on a Nespresso machine?
The clean function runs a water rinse cycle to flush out leftover coffee residue. If your machine doesn’t have this feature, you can simulate it by running the Lungo cycle without a capsule.

