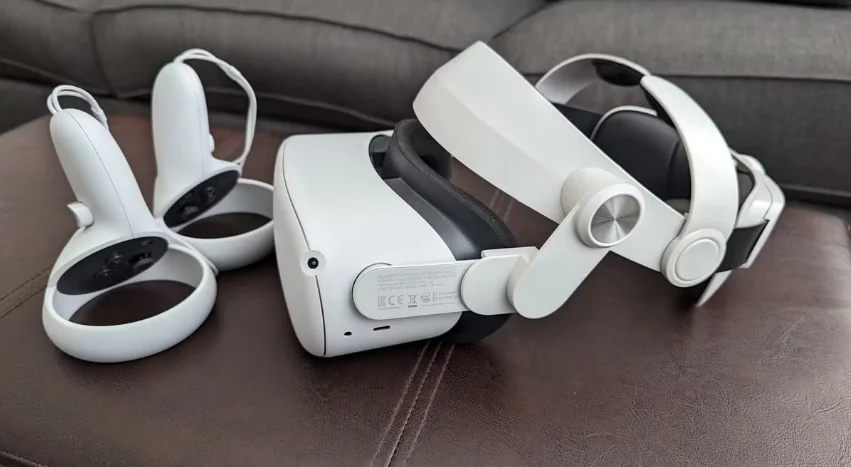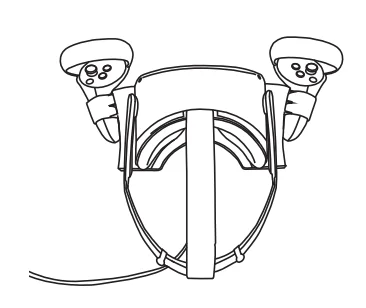
Wasserstein Headset Charging Station Compatible for Oculus Quest 2
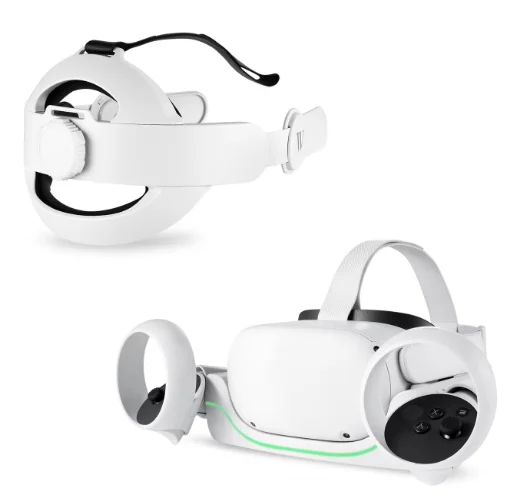
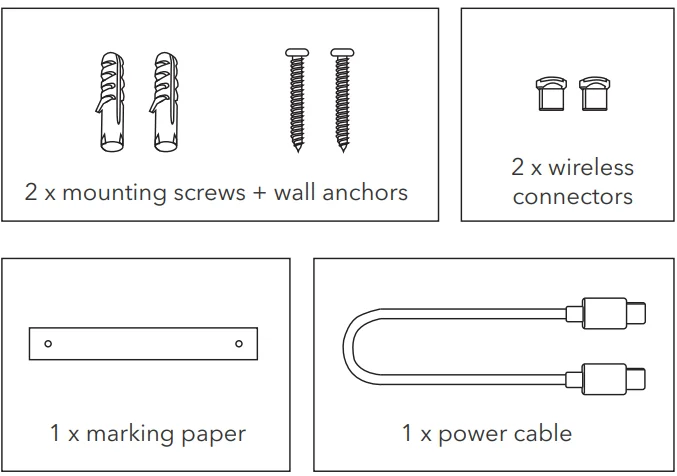
In the Box
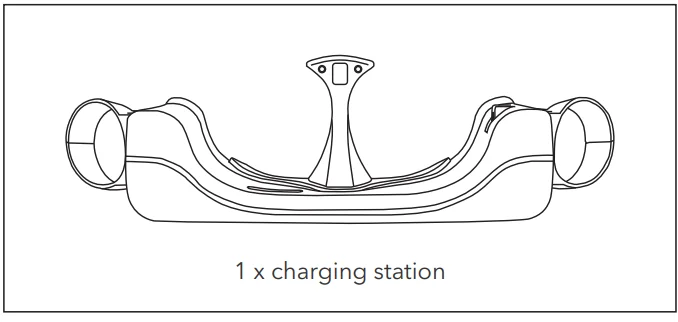
Introduction to Parts
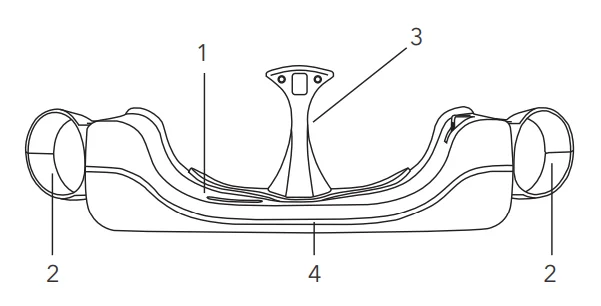
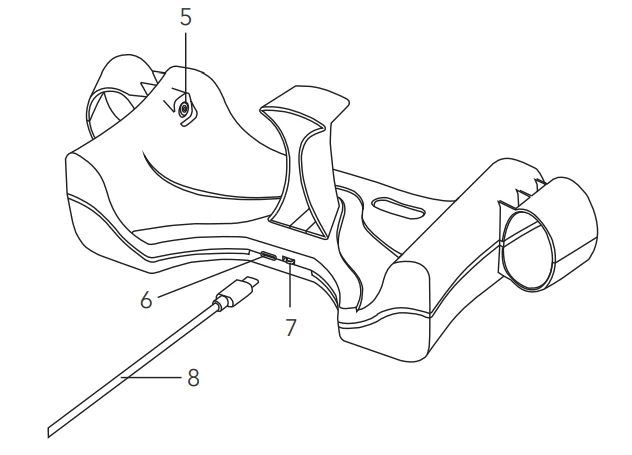
- Charging dock
- Controller slot
- Nose stand
- Ambient light
- Magnetic cable
- USB-C port
- Power switch
- Power cable
How to Set Up
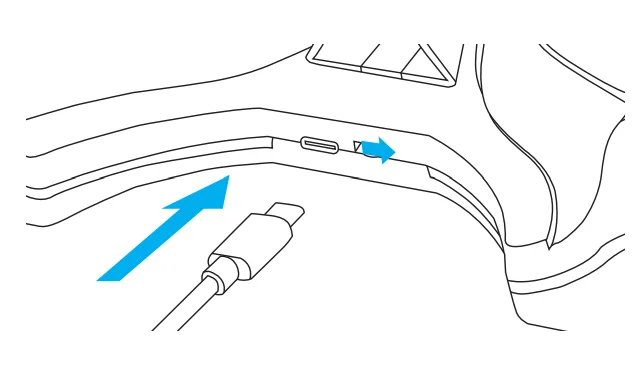
- Plug one end of the charging cable provided into the USB-C port at the back of the charging dock. Plug the other end into the original adapter that came with your Oculus Quest 2 headset.
- Turn on the device by flipping the power switch. The ambient light will turn on, indicating that it is ready to use.

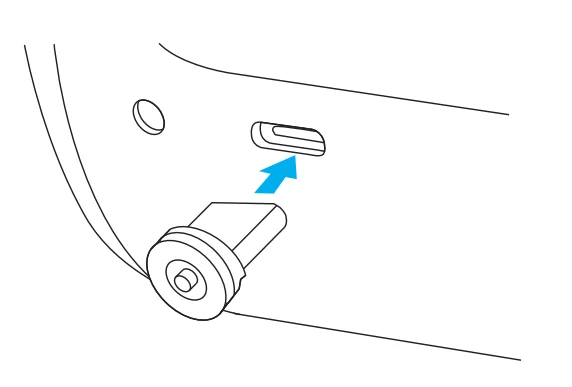
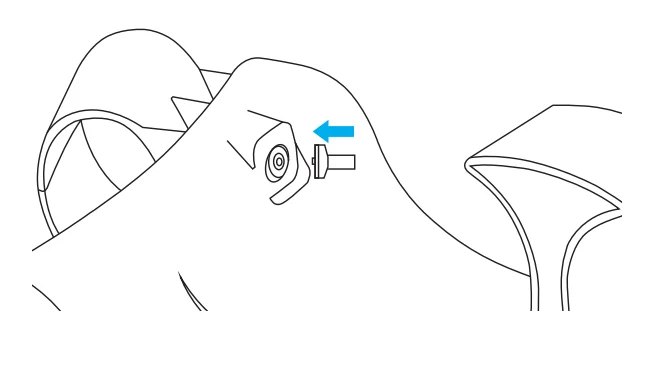
- Plug the wireless connector into the charging port of your Oculus Quest 2 headset. Then place it onto the charging dock. Make sure the magnetic cable is firmly set in the connector.


How to Charge
- The Power light on the Oculus Quest 2 will turn solid orange when charging, and solid green when fully charged.
- Store the controllers by holding the grip button and placing them in the slots.
- Once fully charged, turn off the charging dock.
How to Mount on a Wall
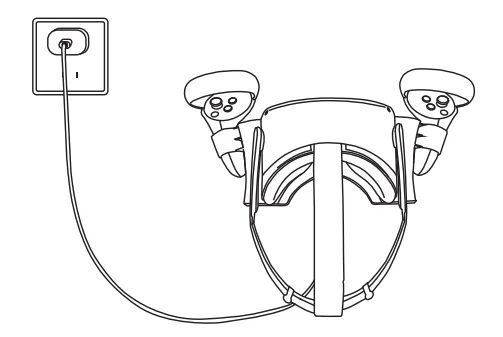
Note: Mounting the charging dock onto the wall may require professional skills and experience.
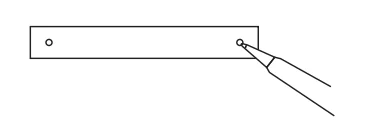
- Plan the best route for your cable. Use the marking paper to mark the holes at your preferred location. Make sure the holes are level.

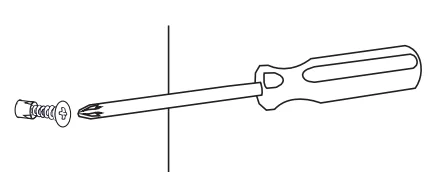
- Drill the holes and insert the wall anchors and screws provided.

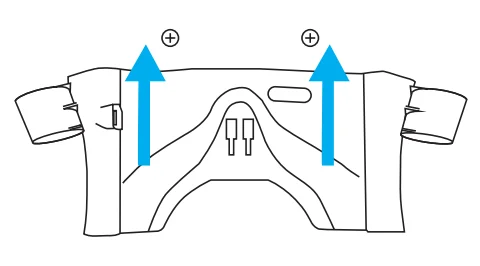
- Mount the charging dock by hanging it on the screws.

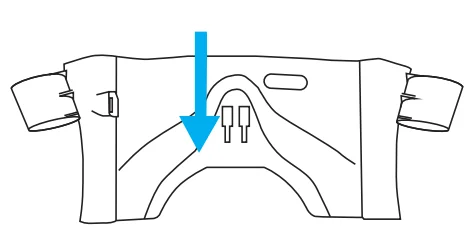
- Attach the nose stand by clicking it into place.

- Place your headset and controllers securely onto the dock. Make sure the magnetic cable is firmly connected when charging.

Specifications
- Input: DC 5V / 9V
- Output: 5V 3A/ 9V 2A
- Product size: 11.8 x 4.7 x 3.5 in
- Weight: 0.52 lb
Get More Support
Scan the QR code below or email us at [email protected]

For more manuals by Wasserstein, visit ManualsLibraryy
Wasserstein Headset Charging Station Compatible for Oculus Quest 2-FAQs
What charger is compatible with the Oculus Quest 2?
Use a high-quality USB-C charger with 5V/2A output. Official Oculus chargers, Anker USB-C chargers, or other trusted brand chargers are recommended. Avoid cheap, no-name adapters.
Can I charge my Oculus Quest 2 using a PC?
Yes. Connect your Quest 2 to your PC via USB-C, but for faster charging while playing, use a compatible USB-C wall adapter. Note that charging during active VR gameplay may reduce battery lifespan over time.
How long does it take to fully charge the Oculus Quest 2?
A full charge typically takes 2–3 hours from a fully depleted battery.
How long does the Oculus Quest 2 battery last?
The battery generally lasts 2–3 hours, depending on usage and the type of applications or games being run.
Can I use a fast charger with Oculus Quest 2?
Yes. The Quest 2 supports fast charging, which can reduce charging time if using a compatible USB-C fast charger.
Is it safe to charge while playing VR games?
It is not recommended to charge while gaming regularly, as this may shorten battery lifespan and potentially stress the charging port.
Can I use my phone charger for Oculus Quest 2?
You can use a good-quality USB-C phone charger, but it should meet the recommended voltage and current specifications (5V/2A or higher) to ensure safe and efficient charging.
How do I know when my Oculus Quest 2 is fully charged?
The headset’s battery indicator will show 100%, or you can monitor charging through the app. Avoid leaving it plugged in for extended periods unnecessarily.
Can I use a power bank to charge the Quest 2?
Yes, as long as the power bank provides sufficient output (5V/2A) and supports USB-C charging.
What cable should I use for charging and PC connection?
A USB-C to USB-C or USB-C to USB 3.0 cable is recommended. For PC VR and room-scale setups, a 10ft USB 3.0 cable ensures stable connection and movement flexibility.

