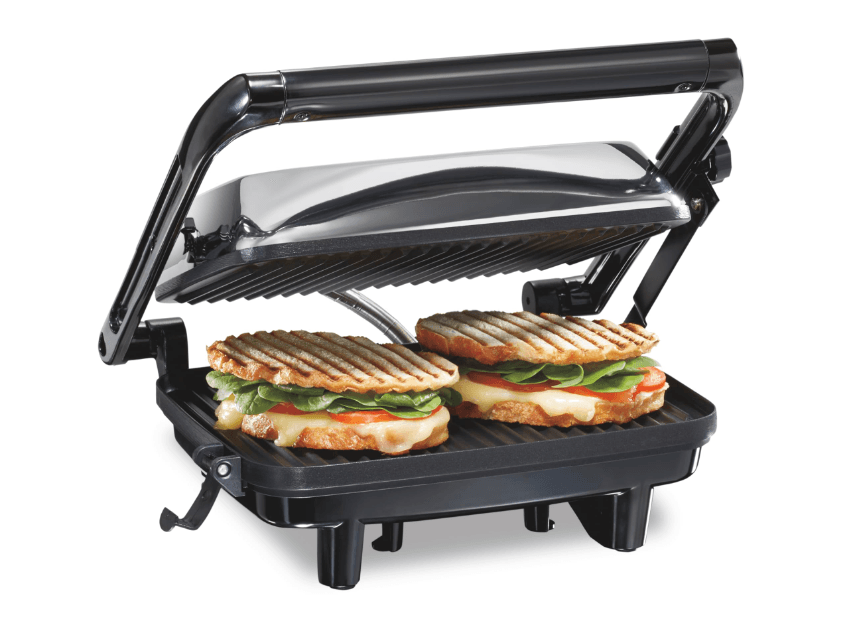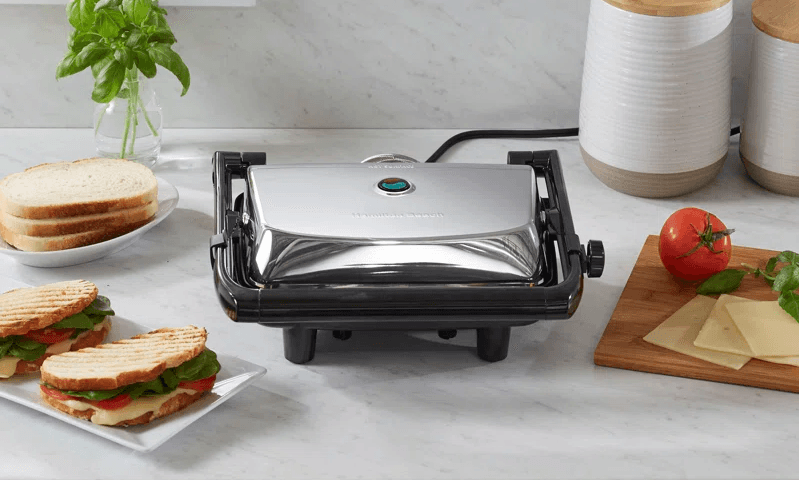
Hamilton Beach 25460AG Panini Press Sandwich Maker

IMPORTANT SAFEGUARDS
SAVE THESE INSTRUCTIONS! When using electrical appliances, basic safety precautions should always be followed, including the following:
- Read all instructions.
- Do not touch hot surfaces. Use handles or knobs.
- To protect against the risk of electrical shock, do not immerse the appliance, cord, or plug in water or other liquid.
- Close supervision is necessary when any appliance is used by or near children.
- Unplug from the outlet when not in use and before cleaning. Allow to cool before
putting on or taking off parts, and before cleaning the appliance. - Do not operate any appliance with a damaged cord or plug, or after the appliance malfunctions or is dropped, or is damaged in any manner. Contact our toll-free customer service number for information on examinations, repairs, or adjustments.
- Do not use outdoors.
- The use of attachments not recommended or sold by the appliance manufacturer for use with this model may cause fire, electric shock, or injury.
- Do not let the cord hang over the edge of the table or counter or touch hot surfaces, including the stove.
- Do not place on or near a hot gas or electric burner, or in a heated oven.
- Extreme caution must be used when moving an appliance containing hot oil or other hot liquids.
- Do not use the appliance for any purpose other than its intended use.
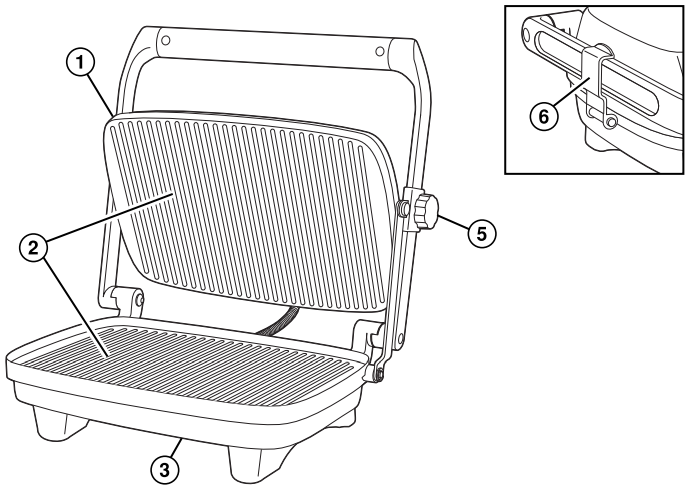
Know Your Panini Press Parts and Features
- Cover
- Nonstick Cooking Surfaces
- Base
- Indicator Light
- Cover Lock
- Storage Latch

Operating Instructions
BEFORE FIRST USE: Wash the cooking surfaces of the panini press as instructed under “Cleaning.”
- Plug into a 120-volt AC outlet.
- Preheat panini press for 6 minutes. The red light comes on and remains lit as long as the panini press is plugged into an outlet. Once the unit has reached the proper temperature, the green light will come on. Keep the cover closed.
- When preheated, raise the cover. Place the food to be cooked onto the cooking surface and lower the cover to the desired height. Lock the cover at the desired height by turning the cover lock, if desired. WARNING! Burn Hazard. The exterior becomes hot. Use an oven mitt when cooking.
- Unlock the cover; then use an oven mitt and carefully lift the cover and check the food to see if cooked to the desired doneness. Do not cut food on a nonstick cooking surface. If additional cooking time is needed, lower the cover.
- When food is cooked to the desired doneness, remove the food and unplug the panini press. Let cool before cleaning.
Panini Press Tips
- ALWAYS PREHEAT THE PANINI PRESS 6 MINUTES BEFORE USING.
- Read the Use and Care Guide before using the panini press.
- Use vegetable cooking spray for convenient, stick-free cooking. Or if you prefer, brush cooking surfaces with vegetable oil before preheating.
- Use plastic utensils on the nonstick cooking surfaces. Do not use metal utensils since they will damage the nonstick surface.
- Thicker sandwiches may shift when being pressed. Use a plastic spatula to reposition. Place the sandwich in the center of the press.
- When a recipe calls for fruit, lock the cover in place above the fruit so that it heats but does not contact the fruit.
- There is no need to press down on the handle. The weight of the cover will grill the top of the sandwich.
- Cleanup is easy! Let the panini press cool down. Wipe cooking surfaces with a damp paper towel or dishcloth.
- Do not latch the storage latch with anything between the grids—this could break the storage latch.
Cleaning
- Unplug the anini press from the electrical outlet and allow it to cool.
- Wipe cooking surfaces with a paper towel to remove drippings.
- Use a plastic spatula to scrape away cooked-on food or grease.
- Use a damp sponge with a small amount of dishwashing detergent to scrub cooking
surfaces. See illustration. Rinse out the sponge and wipe surfaces clean. Use a clean, damp cloth to wipe surfaces again - Do not use steel wool or any type of abrasive cleaner to clean the panini press, since it will damage the nonstick cooking surface and void the warranty.
- Use a clean, damp cloth to wipe the outside of the panini press.
- The unit can be stored with the lid latch locked, sitting upright on the hinge side.
Recipes
NOTE: The panini press is not intended for cooking raw meats. What is a panini? Panini sandwiches are an Italian classic. These grilled stuffed sandwiches offer unlimited possibilities, both as a lunchtime treat and anytime.
Popular Bread Types
Bread sizes and shapes vary by bakery and region. It may be necessary to adapt panini press recipes to fit the number of bread slices that can be cooked at one time.
Baguette: A crisp-crusted French bread formed in a long, narrow loaf, typically about 3 inches wide and 15 inches long.
French Bread: A light, crusty, yeast bread made with water. French bread is available in many different shapes.
Italian Bread: A bread that is similar to French bread, but the loaves are typically shorter
and plumper.
Sourdough Bread: A bread with a slightly sour, tangy flavor from the leavening that has a special yeast starter.
FOR MORE MANUALS BY HAMILTON, VISIT MANUALSLIBRARYY
Hamilton Beach 25460AG Panini Press SandwichMaker-FAQs
How long does it take to cook with the Hamilton Beach Panini Press?
Most meals are ready in 10 minutes or less thanks to the dual heated nonstick plates that cook both sides simultaneously.
How do I use the Hamilton Beach Sandwich Press?
Preheat the unit, place your sandwich on the bottom plate, close the lid, and cook until golden brown and crispy—usually in under 10 minutes.
How do I clean the Hamilton Beach Panini Press?
Unplug and let it cool. Wipe down with a paper towel, then clean the plates using a damp sponge with mild dish soap. A plastic spatula can help remove stuck-on food.
Do I need oil or butter for the panini press?
Yes, lightly brushing oil or butter on the bread or grill plates helps prevent sticking and gives a crispy texture.
What temperature should I cook paninis at?
Set your press to a medium-high heat between 325°F and 375°F for best results, if adjustable.
How do I know when the sandwich maker is ready?
The ready light indicates when the unit is preheated and ready for use.
Can the plates be removed and washed in the dishwasher?
No, the plates are non-removable. However, they are nonstick and easy to clean by hand.
What’s the difference between a panini press and a sandwich maker?
A panini press grills the sandwich evenly with a crispy texture and grill marks, while a sandwich maker seals the edges and creates a more compact toast.
Why is my panini press smoking?
Smoke is usually caused by leftover grease or food particles on the grill. Clean thoroughly before use to avoid this.

