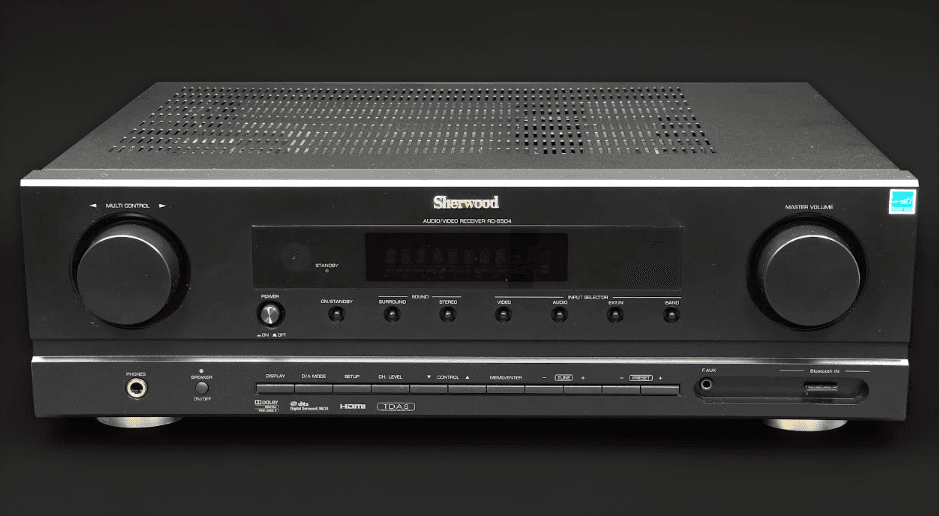
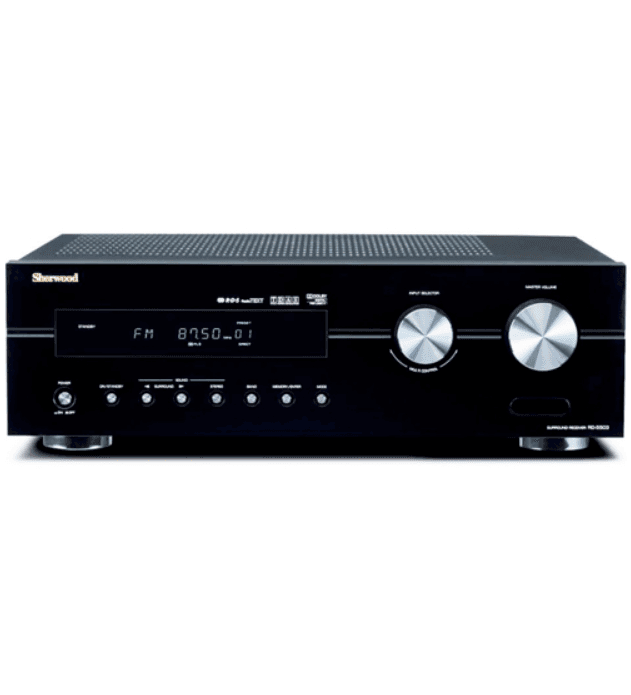
Sherwood RD-6108 Home Stereo AV Receiver System
Introduction
UNPACKING AND INSTALLATION
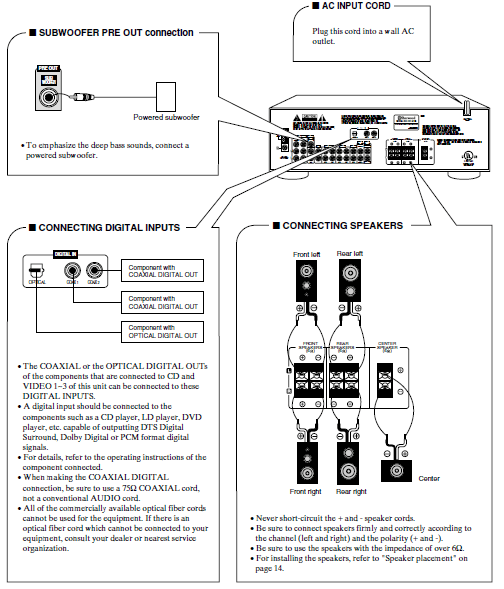
Congratulations on Your Purchase! Your new high fidelity receiver is designed to deliver maximum enjoyment and years of trouble free service. Please take a few moments to read this manual thoroughly. It will explain the features and operation of your unit and help ensure a trouble free installation. Please unpack your unit carefully. We recommend that you save the carton and packing material. They will be helpful if you ever need to move your unit and may be required if you ever need to return it for service. Your unit is designed to be placed in a horizontal position and it is important to allow at least two inches of space behind your unit for adequate ventilation and cabling convenience. To avoid damage, never place the unit near radiators, in front of heating vents, in direct sunlight, or in excessively humid or dusty locations. Connect your complementary components as illustrated in the following section.
WARNING
To reduce the risk of fire or electric shock, do not expose this appliance to rain or moisture.
Caution : Do not block ventilation openings or stack other equipment on the top.
CAUTION: Any changes or modifications in construction of this device which are not expressly approved by the party responsible for compliance could void the user’s authority to operate the equipment.
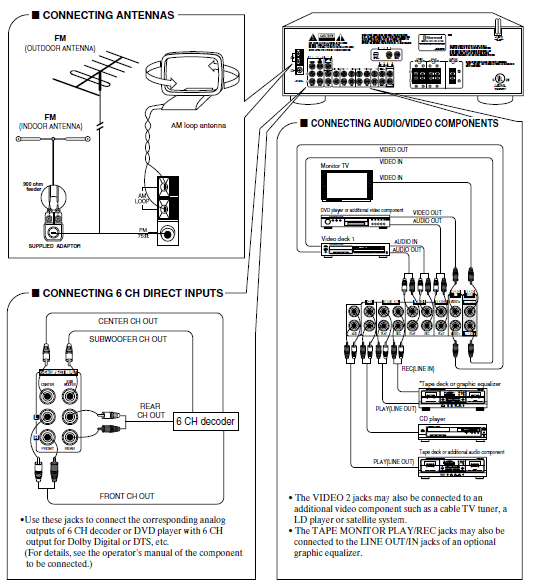
System Connections
- Do not plug the AC input cord into the wall AC outlet until all connections are completed.
- Be sure to connect the white RCA pin cord to the L(left) and the red RCA pin cord to the R(right) jacks when making audio connections.
- Change the position of the FM indoor antenna until you get the best reception of your favorite FM stations.
- A 75 Ω outdoor FM antenna may be used to further improve the reception.
Disconnect the indoor antenna before replacing it with the outdoor one. - Place the AM loop antenna as far as possible from the receiver, TV set, speaker cords and the AC input cord and set it to a direction for the best reception.
- If the reception is poor with the AM loop antenna, an AM outdoor antenna can be used in place of the AM loop antenna.
- Make connections firmly and correctly. If not, it can cause loss of sound, noise or damage to the receiver.
- If the electricity fails or the AC input cord is left unplugged for more than 2 weeks, the memorized contents will be cleared. Should this happen, memorize them again.

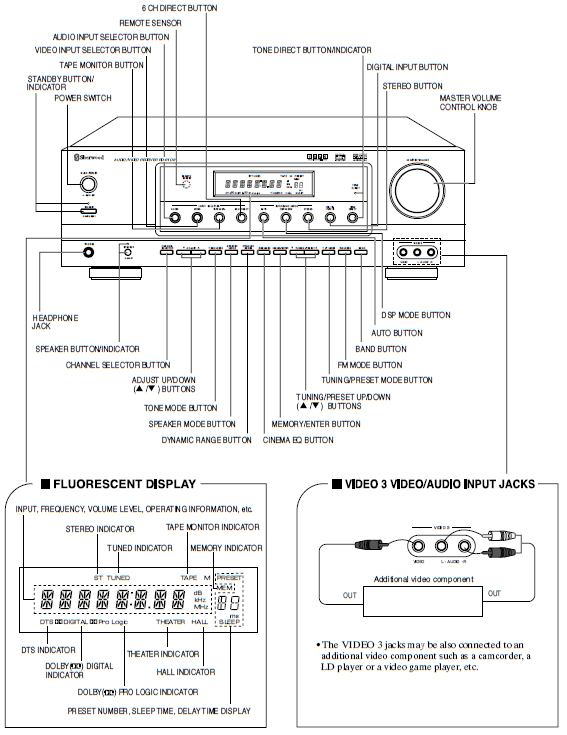
Front Panel Controls
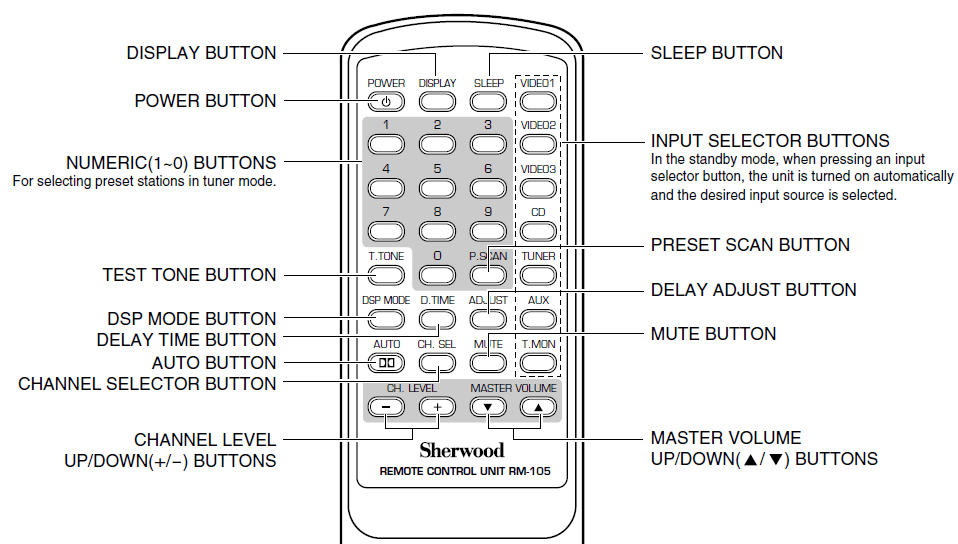
Remote Controls
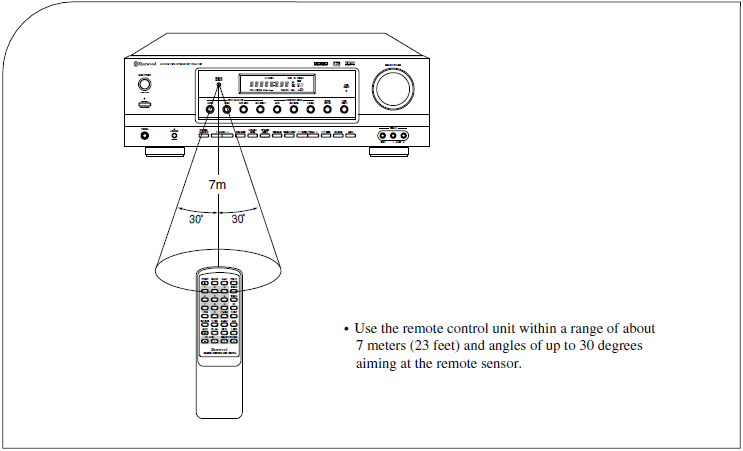
REMOTE CONTROL OPERATION RANGE
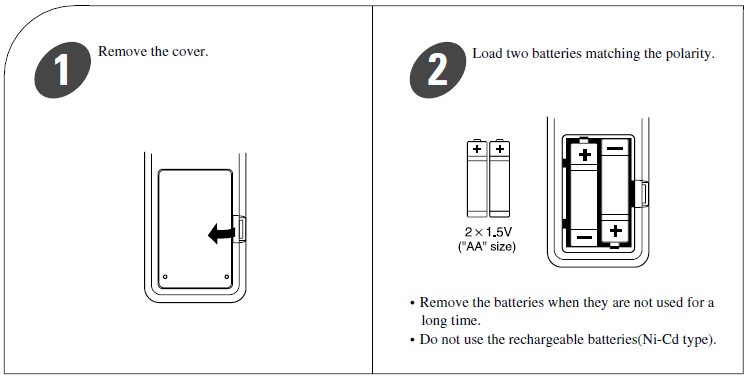
LOADING BATTERIES
Operations
LISTENING TO A PROGRAM SOURCE
Before operation
- Enter the standby mode.

- The STANDBY indicator lights up.
- This means that the receiver is not disconnected from the AC mains and a small amount of current is retained to support the memorized contents and operation readiness.
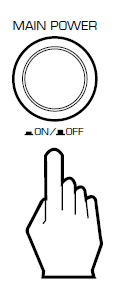
- To switch the power off, push the POWER switch again.
- Then the power is cut off and the STANDBY indicator goes off.
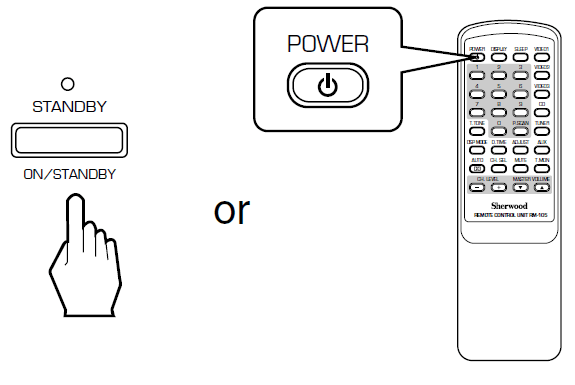
- In the standby mode, turn the power on.

- Each time the STANDBY button on the front panel or the POWER button on the remote control is pressed, the receiver is turned on to enter the operating mode or off to enter the standby mode.
- In the standby mode, if the INPUT SELECTOR button is pressed, the receiver is turned on automatically and the desired input is selected.
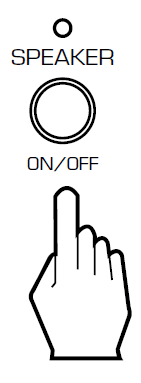
- Switch the speakers on.

- Then the SPEAKER indicator lights up and the sound can be heard from the speakers connected to the speaker terminals.
- When using the headphone for private listening, press the SPEAKER button again to switch the speakers off.
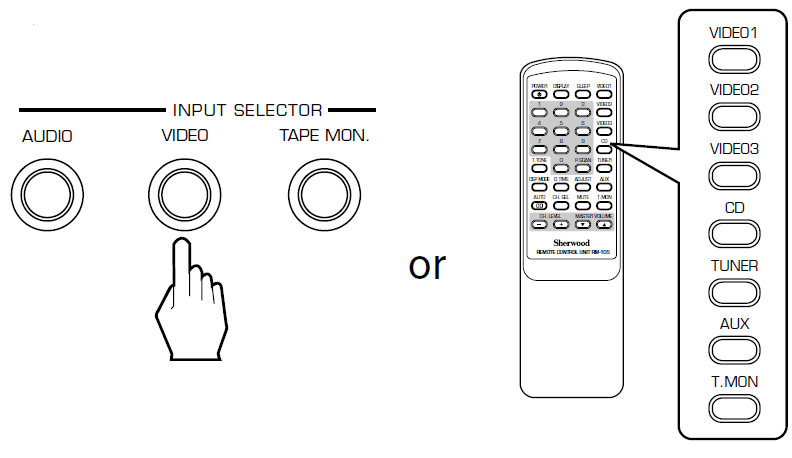
- Select the desired input source.

- Each time the “AUDIO” button is pressed, the input source changes as follows;

- Each time the “VIDEO” button is pressed, the input source changes as follows;

- When the TAPE MONITOR button is set to on so that “TAPE M” indicator lights up, other inputs can not be heard from the speakers. To listen to an input source other than TAPE MONITOR, be sure to set the TAPE MONITOR button to off.
TAPE MONITOR function
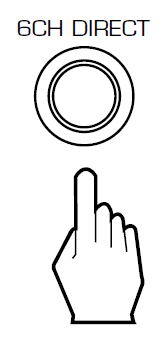
You can connect either a tape deck or a graphic equalizer to the receiver’s TAPE MONITOR jacks. Only when you listen to the component connected to these jacks, set the TAPE MONITOR button to on. If you connect a 3-head tape deck, you can listen to the sound being recorded during recording, not the source sound. For further details, refer to the operating instructions of the component connected. - When selecting the 6 CH DIRECT as desired,

- “6-DIRECT” is displayed and the 6 separate analog signals from 6 CH decoder connected to this unit pass through the tone (bass, treble) and volume circuits only and directly transfer to the speakers. (In case that the TAPE MONITOR button is set to on, the TAPE MONITOR button is automatically set to off.)
- Press the 6 CH DIRECT button or select the desired input source to cancel the 6 CH direct function.
- These 6 separate analog signals can be heard only, not recorded.
- Each time the “AUDIO” button is pressed, the input source changes as follows;
- Select the digital or analog input connected as desired.

- When playing back the program sources with surround sound, refer to “ENJOYING SURROUND SOUND” on page 15.
- Each time this button is pressed, the corresponding input is selected as follows ;

- To listen to a DTS or Dolby Digital program source in the 2-CH downmix mode, in the stereo mode, the corresponding digital input should be selected. (For details, refer to “Downmixing into 2 front channels” on page 18.)
- Notes :
- When the selected optical or coaxial digital input is not connected, the selected digital input display is flickering, meaning no sound. (Refer to “ENJOYING SURROUND SOUND” on page 15.)
- The sound from the component connected to the selected digital input can be heard regardless of the selected input source.
- Operate the selected component for 5 playback.
- When playing back the program sources with surround sound, refer to “ENJOYING SURROUND SOUND” on page 15.
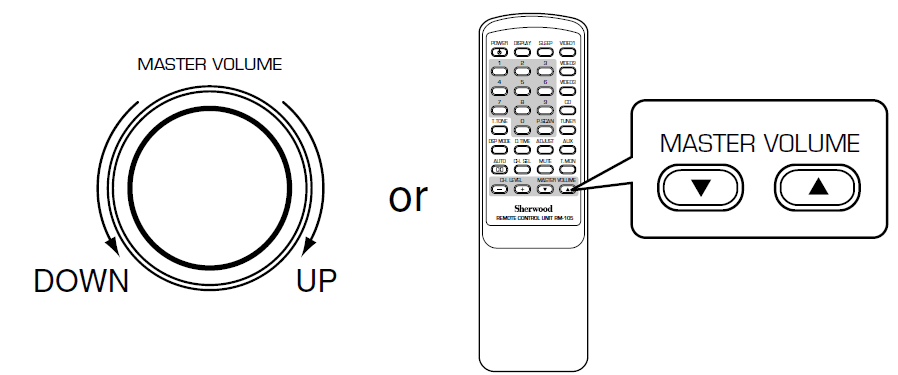
- Adjust the (overall) volume.

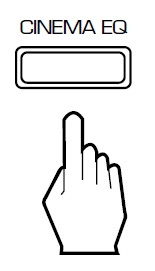
- To compensate for edgy or shrill movie sound tracks.

- Then “C-EQ ON” is displayed.
- Press it again to cancel, the “C-EQ OFF” is displayed.
- When the 6 CH DIRECT is selected as an input source, the cinema EQ function does not work.
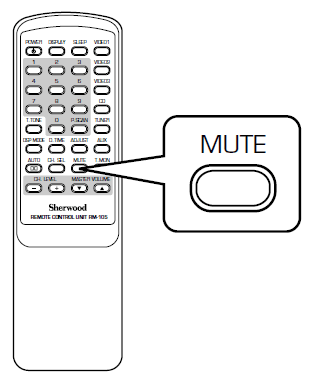
- To mute the sound.

- “MUTE” will flicker.
- To resume the previous sound level, press it again.
- To listen with the headphones.

- Ensure that the SPEAKER button is set to off.
- When listening to a DTS or Dolby Digital program source, if the headphones are plugged in and the SPEAKER button is set to off, it enters the 2-CH downmix mode automatically. (For details, refer to “Downmixing into 2 front channels”on page 18.)
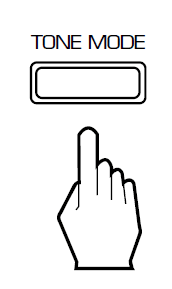
- Enter the tone mode.

- Each time this button is pressed, the corresponding tone mode is selected and shown for 3 seconds as follows:

- Note: When the TONE DIRECT indicator is lighting up, the tone mode cannot be entered.
- Each time this button is pressed, the corresponding tone mode is selected and shown for 3 seconds as follows:
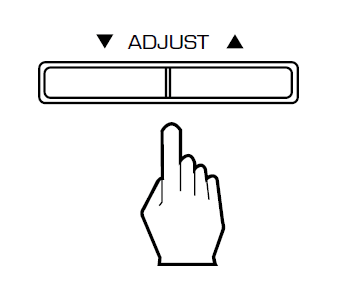
- At the desired tone mode, adjust the tone as desired.

- If the tone display disappears, start from the step 10 again.
- Notes:
- Extreme settings at high volume may damage your speakers.
- When the digital signals from DTS or Dolby Digital program sources are input in available surround mode, the tone cannot be adjusted and the tone direct function is automatically switched to ON.
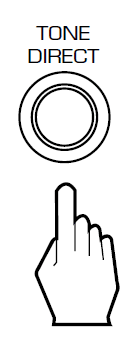
- To listen to a program source without the tone effect.

- The TONE DIRECT indicator lights up and the sound that bypasses the tone circuitry will be heard.
- To cancel the tone direct function, press this button again.
For more manuals by Sherwood, visit ManualsLibraryy
Sherwood RD-6108 Home Stereo AV Receiver System Instructions-FAQs
How do I set up my Sherwood RD-6108 receiver?
Connect your speakers, audio/video sources, and power cable. Use the remote or front panel to configure speaker settings and input sources for optimal performance.
How do I switch between different audio sources?
Press the “Input” button on the receiver or remote control to cycle through connected devices like TV, Blu-ray, or gaming consoles.
Why is there no sound coming from my speakers?
Ensure the speakers are properly connected, the volume is turned up, and the correct input source is selected. Also, check if the mute function is enabled.
How do I reset my receiver to factory settings?
Turn off the receiver, then press and hold the power button while pressing a designated reset button (if available) or refer to the manual for model-specific instructions.
Can I connect my subwoofer to this receiver?
Yes, the Sherwood RD-6108 has a subwoofer output. Connect an active subwoofer to enhance bass performance.
What type of speakers can I use with this receiver?
The receiver supports a range of speakers with compatible impedance (typically 6-8 ohms). Check the user manual for recommended speaker specifications.
How do I adjust the bass and treble settings?
Use the “Tone Control” or “EQ” settings on the receiver or remote to customize bass and treble levels according to your preference.
Does the Sherwood RD-6108 support surround sound?
Yes, this receiver supports multiple surround sound formats. Configure the speaker setup in the settings menu for the best surround experience.
How do I program the remote control?
Follow the programming instructions in the manual, usually by entering the correct code for your TV or other devices while holding the setup button.

