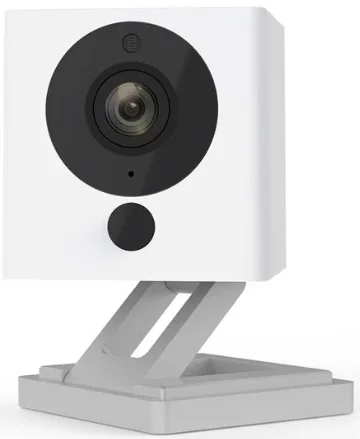
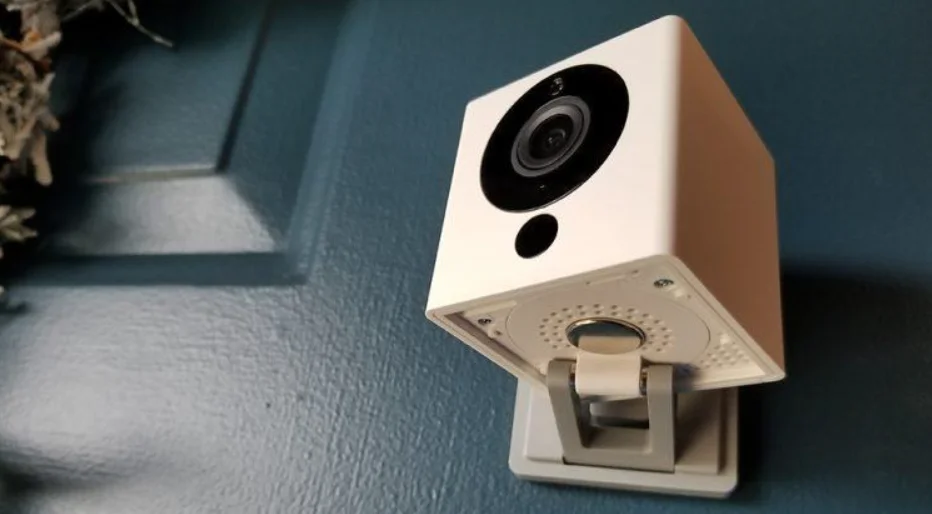
![]()
Wyze Cam V2

IN THE BOX
- Wyze Cam x1
- USB Cable x1
- Power Adapter x1
- Quick Start Guide x1
- Wall Plate x1
- Mounting Tape x1

- Lens
- Microphone
- USB Output
- Power Input
- Status Light
- MicroSD Slot (SD Card not included)
- SETUP Button
SETUP
- Download the Wyze app and create an account
- Connect the camera to a power outlet and wait for 20 seconds until the yellow status light flashes
- Press the SETUP button for 3 seconds until you hear a voice prompt
- Follow the Wyze app to finish setup
LIGHT INDICATIONS
Solid yellow light
The device is powered on and initializing
Flashing yellow light
The device is ready to connect
Flashing yellow & blue lights
Connection is in progress
Flashing blue light
The device is connected and finishing setup
Solid blue light
The device is working properly
FCC Warning:
Any Changes or modifications not expressly approved by the party responsible for compliance could void the user’s authority to operate the equipment.
This device complies with Part 1 S of the FCC Rules. Operation is subject to the following two conditions: (1) This device may not cause harmful interference, and (2) this device must accept any interference received, including interference that may cause undesired operation.
FCC Radiation Exposure Statement:
This equipment complies with FCC radiation exposure limits set forth for an uncontrolled environment. This equipment should be installed and operated with a minimum distance of 20cm between the radiator & your body.
This transmitter must not be co-located or operating in conjunction with any other antenna or transmitter.
NEED HELP?
Tutorial Videos
Troubleshooting & FAQs
Community
Contact Us
1-844-WYZECAM
For more Manuals by Wyze, visit ManualsLibraryy
Wyze Cam V2-FAQs
Can I use Wyze Cam V2 without Wi-Fi or internet?
No. It requires a 2.4GHz Wi-Fi connection to stream, record, and send alerts. Some functions may work temporarily while setting up on local Wi-Fi, but internet is needed for full functionality.
Can Wyze Cam V2 record continuously?
Yes, using a microSD card (sold separately) you can record continuously and save events locally. Time-lapse videos are also supported.
Does Wyze Cam V2 have night vision?
Yes, it has color night vision for clear visibility in low-light conditions.
Do I need a subscription to use Wyze Cam V2?
No. Basic functions like live streaming, motion alerts, and automations are free. Optional Cam Plus subscription adds cloud storage and AI features.
Can Wyze Cam V2 work on 5GHz Wi-Fi?
No. It only works on 2.4GHz Wi-Fi networks.
Does Wyze Cam V2 have a siren?
Yes. The camera has a built-in siren that can be activated manually or via app automations to deter intruders.
Is it safe and private to use Wyze Cam V2?
Yes. Video streams are encrypted, and Wyze employees cannot access your live feed. SD card recordings are stored locally.
How much power does it need?
Wyze Cam V2 uses a standard 5V, 1A power adapter.
Can I view Wyze Cam V2 on my TV?
Not directly. Wyze Cam cannot connect physically to TVs or Roku devices. You can view it via the Wyze app on mobile devices.


